
Lawn
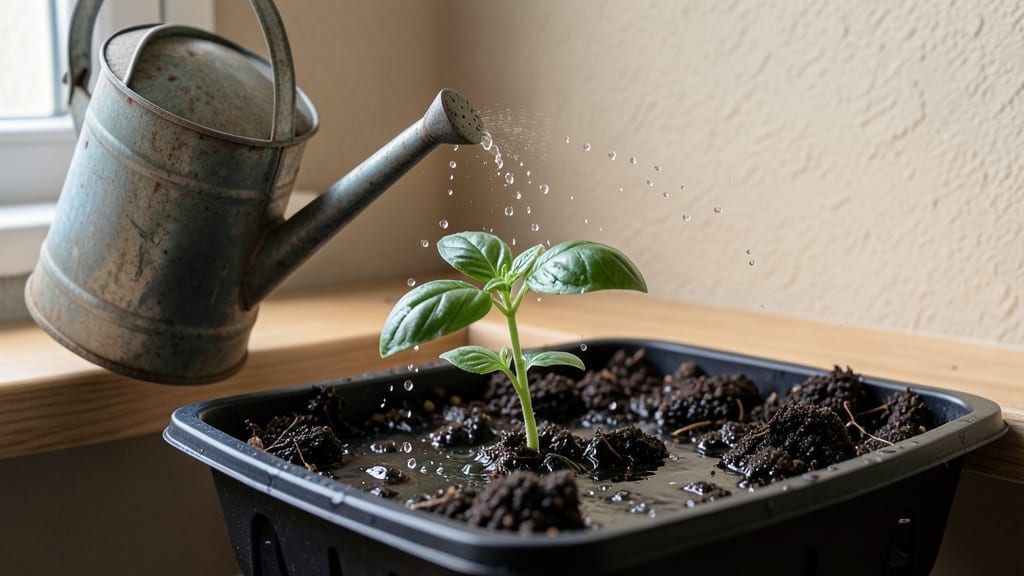
Soil, seed, and water are the holy trinity of gardening—get them right, and your plants will thrive like nothing else. 🌱 I spent years watching seeds sprout only to wilt because of one small mistake, and now I’m sharing the exact formula that works for me in Zone 6 (and how to adapt it for other zones).
The right soil isn’t just dirt—it’s a mix of nutrients, drainage, and texture that keeps roots happy. Start with a simple blend of compost, peat moss, and native soil, then match your seeds to your zone’s frost dates.
For example, tomatoes love warm soil, while peas thrive in cooler spring temps. Watering isn’t about drowning plants; it’s about keeping the soil moist like a wrung-out sponge.
By mastering these three pillars, you’ll see stronger seedlings, faster growth, and plants that actually stay alive. I’ve tested this with everything from zucchini to zinnias, and the results speak for themselves—no more sad, wilted failures. Here’s how to make it work for your garden.
Whether you’re in a warm southern climate or a chilly northern zone, the principles stay the same. The key is adjusting timing and soil prep to match your local growing season. Let’s get those roots growing right!
📚 In This Guide
- What you need
- Instructions
- Tips and common mistakes
- Wrapping up and next steps
What you need
- ● Soil Amendments: Compost (2–3 cubic yards per 1,000 sq. ft.) – organic matter for nutrient-rich soil
- ● Peat moss or coconut coir (1–2 bags per 100 sq. ft.) – for moisture retention
- ● Garden lime (10–20 lbs. per 100 sq. ft.) – to adjust soil pH (test first!)
- ● Seeds & Plants: Zone-specific seed packets (check your USDA zone!) – e.g., cool-season grasses for Zones 3–7, warm-season for Zones 8–10
- ● Seedling trays or biodegradable pots (50–100 units) – for starting seeds indoors
- ● Watering Supplies: Drip irrigation kit or soaker hoses (50–100 ft. length) – efficient water delivery
- ● Watering can (1–2 gallons) – for precision watering
- ○ Rain gauge (optional) – track moisture levels like a pro
- ● Garden trowel (stainless steel, 6–8 inches) – for planting and soil prep
- ● Rake (bow or leaf rake, 24–30 inches) – level soil and remove debris
- ● Garden gloves (nitrile-coated for durability) – protect your hands!
- ● Wheelbarrow (2–3 cubic feet) – haul soil and amendments
- ● Soil pH test kit (digital or liquid) – ensure optimal growing conditions
- ● Mulch (straw or shredded bark, 2–3 bags) – retain moisture and suppress weeds
- ● Know your USDA Plant Hardiness Zone – use the blank">USDA Zone Finder!
- ● Test your soil (3–4 months before planting) – check pH, nutrients, and texture
- ● Clear the planting area (remove weeds, rocks, and debris) – start with a clean slate
- ● Check the frost dates for your zone – plan around last frost for cool-season plants
- ● Seedling heat mat ($20–$40) – for early indoor starts
- ● Planting calendar app (e.g., blank">Gardeners.com) – track deadlines and tasks
- ● Organic fertilizer (slow-release, 10–20 lbs. per 1,000 sq. ft.) – boost growth naturally
How to time your planting for maximum success
Mastering the right moments for planting saves you from wasted effort and ensures strong starts.
📅 Step 1: Determine Your Planting Zone and Frost Dates
First, find your USDA Planting Zone by entering your ZIP code into the USDA Plant Hardiness Zone Map. This tells you when to expect your last spring frost and first fall frost. I always mark these dates on my calendar—last frost is when you can safely plant cool-season crops, while first frost signals it's time to harvest or protect tender plants.
For example, if you're in Zone 6, your last frost is typically around April 15th, while Zone 9 might see its last frost as early as February 15th. If you're unsure, check local gardening forums or ask your county extension office—they often have precise records for your area.
🌱 Step 2: Group Plants by Temperature Preferences
Not all plants thrive in the same conditions. Divide your seeds into three groups: cool-season (like lettuce, peas, and spinach), warm-season (tomatoes, peppers, and beans), and year-round (herbs like parsley or chives). Cool-season plants love temperatures between 45-75°F and can handle light frosts, while warm-season plants need soil temperatures above 60°F to germinate properly.
I like to start cool-season crops 4-6 weeks before the last frost indoors or directly in the garden if your soil is workable. Warm-season plants, on the other hand, should only go in after the soil has warmed up—stick your finger 2 inches deep into the soil; if it feels cool to the touch, wait a few more days.
💧 Step 3: Adjust for Your Local Microclimate
Your yard isn’t uniform—some spots get more sun, others stay shadier or cooler. Observe your garden for 1-2 weeks before planting: note which areas dry out fastest, which stay damp longer, and where frost lingers. I’ve found that my north-facing beds stay cooler by 5-10°F than my south-facing ones, so I plant warm-season crops there 2 weeks later than the rest of the garden.
If you’re in a low-lying area, frost might arrive earlier than official records suggest. Test your soil temperature with a simple soil thermometer—it’s the most reliable way to know when conditions are right. For example, if your thermometer reads 55°F but the calendar says it’s safe, hold off planting until it hits 60°F.
⏰ Step 4: Plan for Successive Plantings
Instead of planting everything at once, stagger your sowings every 2-3 weeks for a continuous harvest. This works especially well for crops like lettuce, radishes, and beans. For instance, if your last frost is April 15th, plant the first batch on March 20th, the second on April 1st, and the third on April 15th. You’ll avoid gluts of produce and enjoy fresh harvests all season.
Keep a planting journal to track what you sow and when. Note which crops thrive with your schedule and which ones struggle—this helps you refine your timing each year. I’ve learned that my zucchini plants always bolt if I don’t wait until May 1st, no matter what the zone map says.
🌿 Step 5: Monitor and Adapt in Real Time
Weather forecasts aren’t set in stone—unexpected cold snaps or heatwaves can throw off your best-laid plans. Sign up for local weather alerts and check the 7-day forecast before planting. If a 3-day frost warning pops up, cover tender seedlings with row fabric or a cold frame to protect them.
Pay attention to your plants’ signals, too. If leaves look wilted or yellow, it might mean they’re getting too much or too little water—or that the temperature swung unexpectedly. For example, if your basil suddenly drops flowers, it’s likely a response to a sudden cold snap. Adjust your care accordingly, and don’t hesitate to replant if conditions turn unfavorable.
Tips & tricks for perfect zone-specific planting timing
Timing is everything in gardening—and these tricks will help you avoid the most common mistakes that waste seeds and energy.
Soil Temperature Reality Check: That 60°F soil temperature threshold isn't just a number—it's the magic line where warm-season seeds actually wake up. I've seen tomato seeds sit for weeks in 58°F soil and never sprout. Use a simple soil thermometer (they're cheap!) to confirm before planting. If your soil's 55°F or cooler, wait it out—patience here prevents wasted seed packets.
Microclimate Mapping: Your yard isn't one uniform zone—north-facing beds can be 5-10°F cooler than south-facing ones, which changes everything. Before planting, walk your garden with a thermometer at different times of day. I mark my cooler north beds with stakes so I remember to plant warm crops there 2 weeks later than my sunniest spots. This simple observation can mean the difference between thriving tomatoes and sad, stunted plants.
Frost Date Flexibility: While your last frost date is a good starting point, real-world conditions vary. If you're in Zone 6 and your calendar says April 15th but you've had three nights below freezing in May, don't assume it's safe. Check your local weather station's actual frost records—they often show later dates than the averages. I've had peppers killed by late frosts even after the "official" date had passed.
Successive Planting Hack: The 2-3 week interval between plantings might seem arbitrary, but it works because it accounts for both seed germination time and plant maturity. For fast growers like radishes (30 days), stick to the 2-week mark. For slower crops like beans (60+ days), you can stretch to 3 weeks. This staggered approach ensures you're always harvesting something without overwhelming your garden space at once.
Pro Tips for Soil Seed And Water
- Timing is everything in gardening—and these tricks will help you avoid the most common mistakes that waste seeds and energy.
- Soil Temperature Reality Check: That 60°F soil temperature threshold isn't just a number—it's the magic line where warm-season seeds actually wake up.
- Microclimate Mapping: Your yard isn't one uniform zone—north-facing beds can be 5-10°F cooler than south-facing ones, which changes everything.
Frequently asked questions
Got questions about soil, seed, and water?
You’re not alone! Here are answers to the most common questions to help you nail your planting game—no guesswork required.
What’s the best soil type for my zone?
The ideal soil depends on your zone and plants, but most lawns thrive in loamy soil—a balanced mix of sand, silt, and clay. Test your soil (DIY kits are cheap!) to check pH (6.0–7.0 is best for grass) and adjust with compost or lime if needed. Zone 5–8? Focus on improving drainage; Zone 9–11? Prioritize moisture retention.
When’s the real best time to plant seeds?
Timing is everything! For cool-season grasses (like fescue or ryegrass), plant in early fall (Sept–Oct) or early spring (March–April). Warm-season grasses (like Bermuda or Zoysia) need late spring/early summer (May–June). Pro tip: Avoid extreme heat or frost—seeds need consistent moisture and temps between 60°–75°F to germinate.
How often should I water new seeds?
Keep soil consistently moist (not soggy!) for the first 2–3 weeks. Water lightly 2x daily (morning + evening) to prevent crusting. Once sprouts appear, reduce to 1 inch per week (check with a rain gauge). Deep watering (1–2 inches at a time) encourages strong roots. Morning watering cuts down on evaporation and disease risk.
Can I use regular garden soil for my lawn?
Not ideal! Garden soil often lacks the organic matter and nutrients lawns need. Instead, mix topsoil with compost (50/50 ratio) or use a lawn-specific soil blend. For sandy soils, add peat moss; for clay-heavy soil, amend with sand or perlite. A 2–3 inch layer of amended soil is perfect for seed-to-soil contact.
My seeds aren’t germinating—what went wrong?
Troubleshoot with this checklist:
Too dry? Seeds need moisture to activate. Lightly mist daily if rain skips.
Too hot/cold? Check temps—most seeds struggle outside 50°–85°F.
Poor soil contact? Seeds buried ¼ inch deep (or less for fine seeds) sprout best.
Compaction? Loosen soil before planting to improve airflow and root growth.
Old seeds? Test germination rate—store seeds in a cool, dry place and replant within 1–2 years.
If issues persist, try a soil test or switch to hydrated seed starter for faster results.Wrapping up and next steps
Mastering soil, seed, and water is your golden ticket to a thriving lawn! By aligning your planting with your zone’s natural rhythms, you’re not just gardening—you’re partnering with nature for effortless success. 🌱 Start small: pick one zone to refine your skills, then expand as confidence grows.
Ready to transform your outdoor space? Grab your calendar, test your soil, and dive in—your future lawn will thank you! 🌟 Next step: Mark your first planting date and watch the magic unfold.