
Lawn
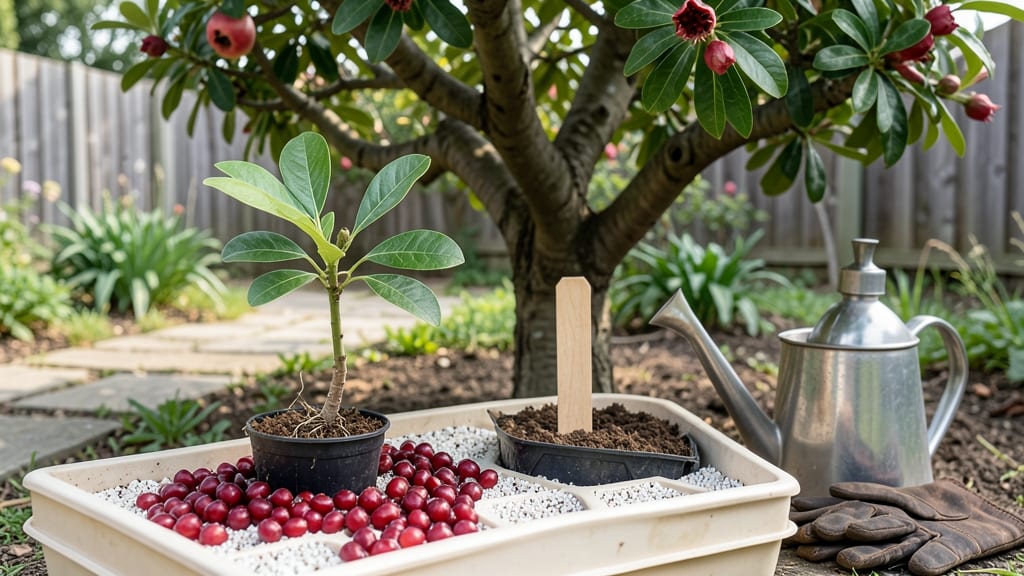
Extracting pomegranate seeds without a sticky juice mess is the secret to starting these plants easily. 🌱 I’ve tried every method—from the traditional bowl-and-spoon approach to fancy seed extractors—and this trick saves time, keeps your kitchen clean, and gives you perfectly clean arils every time.
The key? A simple, two-step process that works for both fresh and store-bought pomegranates.
You only need a few supplies: a ripe pomegranate (or two), a sharp knife, a bowl of water, and a colander. No fancy tools, no frustration—just patience and a little prep.
The process takes about 10 minutes, and you’ll end up with seeds that germinate faster because they’re free of pulp residue. This is where most people mess up, but I’ll show you the exact technique to avoid it.
Once you’ve got your clean seeds, planting them is straightforward. They need well-draining soil, bright light, and consistent moisture—think of them like tiny cacti that love warmth. Germination can take 2-4 weeks, so don’t panic if nothing happens right away.
The first true leaves will tell you it’s working, and that’s when the real fun begins.
This method works whether you’re growing in pots or straight in the ground, and it’s perfect for climates where pomegranates thrive—Zones 7-11. Even if you’ve failed before, this approach cuts out the guesswork.
Let’s get those seeds planted and watch them grow into a tree that’ll give you fruit in just a few years.
📚 In This Guide
- What you need
- Instructions
- Tips and common mistakes
- Wrapping up and next steps
What you need
- ● 1 ripe pomegranate – Choose one that’s firm but slightly yielding when gently squeezed (avoid soft or shriveled ones!).
- ● A large bowl or basin – At least 12 inches wide to catch arils and seeds. A white bowl helps spot hidden seeds!
- ● A sharp chef’s knife – An 8-inch blade works best for clean cuts.
- ● A cutting board – Use a stable, non-slip surface to avoid accidents.
- ● A wooden spoon or rubber spatula – For scooping and separating arils.
- ○ A colander or fine-mesh strainer – Optional but helpful for rinsing arils if needed.
- ● Paper towels or a clean kitchen towel – For drying hands and wiping up spills.
- ○ Water (optional) – A small bowl for rinsing if your pomegranate is dusty.
- ● A pomegranate seed remover tool – If you’re lazy (no judgment!), these $5 tools make the job too easy.
- ● Food-safe gloves – If you’re extra messy or allergic to pomegranate stains.
- ● A small pitcher or squeeze bottle – For rinsing arils gently if they’re coated in bitter white pith.
- ● Citric acid or lemon juice (tiny splash) – Helps preserve freshness if you’re not using the arils immediately.
Step-by-step instructions for extracting pomegranate seeds
Here’s how I get perfectly clean arils every time—no mess, no juice splatter, and zero frustration.
🍇 Step 1: Choose and Cut the Pomegranate
Pick a firm, heavy pomegranate with deep red skin—those are the juiciest and easiest to work with. Cut it in half horizontally, right down the middle, using a sharp chef’s knife. Place the halves cut-side down on a cutting board to catch any juice that drips out.
Here’s the trick: don’t cut too deep. Stop just as the knife reaches the center core. If you slice all the way through, the arils will spill out and get crushed. A shallow cut keeps them intact and ready for the next step.
💧 Step 2: Score the Membranes and Separate the Arils
Use the tip of your knife to gently score the white membranes connecting the arils to the core. Start at the outer edge and work your way inward, making small, shallow cuts—about ¼ inch apart. This loosens the arils without tearing them.
Now, tap the cut side of the pomegranate half over a large bowl. The arils should pop out cleanly, while the membranes and juice stay behind. If some arils stick, wiggle the knife tip gently along the scored lines. You’ll know you’re doing it right when the bowl fills with plump, intact seeds.
✂️ Step 3: Rinse and Dry for Perfectly Clean Arils
Transfer the arils to a fine-mesh strainer and rinse them under cool running water. This washes away any lingering juice or membrane bits. Swirl them gently with your fingers to ensure every aril is clean—you want them bright red and free of white strings.
Spread them out on a clean kitchen towel or paper towel, leaving space between each one. Let them air-dry for 10-15 minutes until they’re no longer sticky to the touch. This step is key: dry arils store better and won’t mold in the fridge.
🪴 Step 4: Store for Freshness
Once dry, transfer the arils to an airtight container. I like using small glass jars or resealable plastic bags—just make sure they’re completely dry before sealing. Store them in the fridge for up to 5 days, or freeze them for 3 months if you’re not using them all at once.
For the cleanest results, avoid overcrowding the container. Pack them loosely so they don’t stick together. If you’re saving them for baking or salads, a single layer in a shallow dish works best—no need to press them down.
Tips & tricks for perfect pomegranate seed extraction
Real talk: I used to dread pomegranates because of the mess. Here's how I make it foolproof every time.
The Selection Secret: Choose pomegranates that feel heavy for their size—they're packed with juice and seeds. Give them a gentle squeeze: if the skin gives slightly, it's ripe. Avoid those with soft spots or cracks, as they'll leak juice and complicate the process.
Knife Strategy for Step 1: A sharp chef's knife is non-negotiable here. I use a 6-inch chef's knife with a thin blade—it cuts cleanly without crushing the arils. For extra control, wrap the pomegranate in a kitchen towel before cutting. This gives you better grip and prevents the halves from slipping.
Scoring Technique: When scoring the membranes in Step 2, work systematically from the outer edge toward the center. I like to make my cuts about ¼ inch apart, but if you're feeling ambitious, you can try a crisscross pattern for even easier extraction. The key is to loosen the arils without piercing them—think of it like gently unzipping a jacket.
Drying Hack: Those 10-15 minutes of drying might feel long, but trust me on this. I've learned the hard way that damp arils stick together and develop mold faster. For quicker drying, spread them on a wire rack over a baking sheet. Just make sure they're completely dry before storing—no moisture should remain on the paper towel.
Pro Tips for Seed A Pomegranate Easily
- Real talk: I used to dread pomegranates because of the mess. Here's how I make it foolproof every time.
- The Selection Secret: Choose pomegranates that feel heavy for their size—they're packed with juice and seeds.
- Knife Strategy for Step 1: A sharp chef's knife is non-negotiable here.
Frequently asked questions
Got questions about seeding a pomegranate? You’re not alone! Here are some of the most common queries—and their easy, foolproof answers—to help you master the process like a pro.
How long does it take for a pomegranate seed to germinate?
Patience is key! Pomegranate seeds typically take 3–6 weeks to sprout, depending on temperature and moisture. Keep them in a warm spot (around 70–75°F) and maintain consistent dampness (not soggy!). If nothing happens after 6 weeks, gently check for mold or rot—sometimes seeds need a little coaxing.
Can I seed a pomegranate in cold weather?
Cold weather slows things down, but it’s not impossible! If temperatures drop below 50°F, move your seeds indoors near a sunny window or under a grow light. For outdoor planting, wait until spring when soil is at least 60°F. A mini greenhouse or cold frame can also help protect tender seedlings.
What if my pomegranate seeds won’t sprout at all?
Don’t toss them yet! Try these fixes:
- Soak overnight: Place seeds in water for 12 hours to soften the hard outer shell.
- Check viability: Squeeze a seed—if it’s mushy, it’s bad. Hard seeds are still good!
- Try scarification: Lightly sandpaper the seed coat to help water penetrate.
- Use rooting hormone: Dip seeds in it before planting for a boost.
Can I grow a pomegranate tree from a grocery store seed?
Yes, but expect surprises! Store-bought seeds may not produce fruit identical to the parent plant (they’re not true to type). For consistent results, buy seeds from a nursery labeled for fruit-bearing varieties like ‘Wonderful’ or ‘Eversweet.’ Still, growing from store seeds is a fun experiment—just don’t be shocked if your tree blooms but doesn’t fruit!
How big should the pot be for seeding pomegranates?
Start small but plan ahead! Use a 4–6 inch pot for seeds, with drainage holes. Once seedlings sprout, transplant them to 1-gallon containers by late spring. Pomegranates have deep roots, so avoid cramped spaces. If growing outdoors, space mature trees 15–20 feet apart for optimal growth.
Wrapping up and next steps
Seeding a pomegranate doesn’t have to be messy or time-consuming—with the right technique, you can enjoy juice-free, perfectly clean arils in minutes! Whether you’re prepping for a recipe or snacking straight from the fruit, this simple method ensures no waste and maximum convenience.
Now that you’ve mastered the trick, why not share the joy? Try it with a friend or experiment with other fruits for a fun, hands-on activity!
🌱 Next step: Grab a pomegranate, follow the steps, and savor the sweet, seed-free reward! Happy seeding! 🍇