
Planting
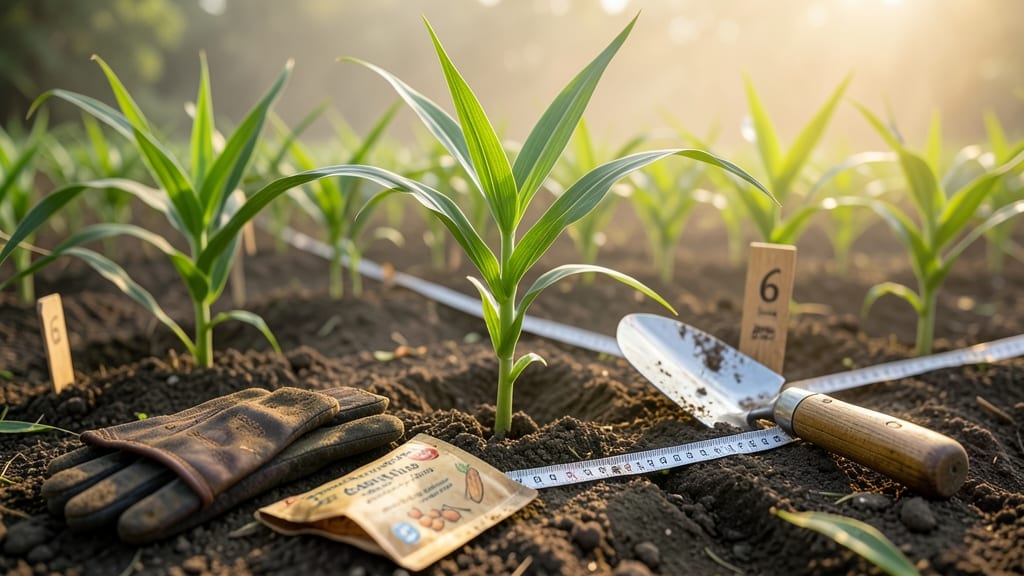
Proper corn seed spacing turns a patchy garden into a towering, uniform stand of ears—no more skinny stalks or wasted space. 🌽 I learned the hard way that cramming seeds too close leads to stunted plants and fewer harvests, while spacing them too far means missing out on maximum yield.
The secret lies in matching row width, seed depth, and plant density to your corn variety and growing conditions.
For home gardens, 12-15 inches between plants in rows 30-36 inches apart is the sweet spot—this balance ensures good air circulation and sunlight penetration while preventing overcrowding. Plant seeds 1-1.5 inches deep in warm, moist soil, and thin seedlings to the recommended spacing once they’re 4-6 inches tall.
Larger plots may adjust spacing slightly, but consistency is key to even germination.
When done right, you’ll see strong, straight stalks with plump ears instead of scraggly, weak plants competing for resources. Proper spacing also reduces disease risk by improving airflow and makes pest control easier—no more hidden bugs thriving in crowded foliage.
The payoff? A harvest that’s nearly twice as productive as a poorly spaced garden.
This method works for both sweet corn and field corn, whether you’re growing in a small backyard plot or scaling up for larger yields. The only real mistake is not measuring carefully—so grab a ruler and plant with confidence. Your future dinner table will thank you.
📚 In This Guide
- What you need
- Instructions
- Tips and common mistakes
- Wrapping up and next steps
What you need
- ● Corn seeds – Choose high-quality, non-GMO seeds (e.g., Dekalb, Golden Bantam, or heirloom varieties). Aim for 1.5–2.5 lbs per 100 ft of row, depending on your spacing goals.
- ● Planting marker or flags – 100+ wooden stakes or biodegradable markers (6–12" tall) to mark rows and spacing.
- ● Measuring tape or ruler – A 25–50 ft tape measure for precise spacing (12–36" apart, depending on variety).
- ● Garden shovel or trowel – A 5–6" hand trowel for digging small holes or a broadfork for loosening soil in larger plots.
- ● Watering can or hose with a gentle nozzle – For post-planting hydration without disturbing seeds.
- ○ Garden twine or string – 50+ ft to create a grid for uniform spacing (optional but helpful for beginners).
- ○ Soil testing kit (optional but recommended) – To check pH (6.0–7.0 ideal) and nutrient levels before planting.
- ● Seedling heat mat – For early indoor starts in cooler climates (💡 Pro tip: Useful if planting before last frost!).
- ● Organic starter fertilizer – A low-nitrogen (5-10-10) blend to boost early growth.
- ● Mulch (straw or grass clippings) – 2–3 inches to retain moisture and suppress weeds.
- ● Planting board or seed drill – For larger-scale planting (✨ Saves time and ensures consistency!).
- ● Gloves and knee pads – Because gardening is hard work—protect your hands and joints!
Step-by-Step guide to perfect corn seed spacing
Here's how to space corn seeds like a pro for uniform growth and maximum yield.
🌱 Step 1: Understand Corn's Natural Growth Habits
Corn grows best when planted in groups of 3-4 seeds arranged in 12-inch squares—this mimics its natural pollination pattern. The reason? Corn is wind-pollinated, and these clusters create a dense "block" that improves pollen transfer between plants. I always sketch a simple grid on paper first to visualize the layout before digging.
Measure your planting area carefully. A 4-foot by 4-foot grid gives you 4 plants per square, and each plant needs 12 inches of space in all directions. This ensures roots have room to spread without competing for nutrients. If your soil feels compacted, loosen it to 6 inches deep—corn roots need air to grow strong.
☀️ Step 2: Choose the Right Planting Time and Conditions
Wait until the soil reaches at least 60°F—corn seeds won’t germinate below this temperature. I test by pressing a finger into the soil: if it feels warm like a summer day, it’s ready. Plant in full sun (6+ hours daily) for best results. Shade causes weak stems and poor ear development.
For best germination, plant when a light frost is no longer a threat in your area. If you’re in a short-season zone, opt for early-maturing varieties like 'Silver Queen' or 'Early Sunglow'—they thrive in cooler soils. Water the soil 1-2 days before planting to help seeds absorb moisture quickly after going in.
🌿 Step 3: Plant Seeds in Precision Clusters
Use a trowel or dibble to create holes 1 inch deep—any deeper delays germination. Space your 12-inch squares evenly, marking rows with a string and stakes for straight lines. Drop 3-4 seeds per hole (they won’t all sprout) and cover lightly with soil. Press gently to ensure good seed-to-soil contact.
Here’s the trick: thin to the strongest seedling once they’re 4-6 inches tall. Watch for the one with the darkest green leaves and sturdiest stem—that’s your winner. Pull the others carefully to avoid disturbing the roots of the remaining plant. If you’re planting in rows, space them 30-36 inches apart for easy access during harvest.
💧 Step 4: Water and Maintain for Optimal Growth
Keep the soil evenly moist (not soggy) for the first 2-3 weeks—this is critical for germination. I use a soaker hose to water deeply at the base, avoiding the leaves to prevent fungal diseases. Once seedlings emerge, water 1 inch per week, increasing to 1.5 inches during tasseling (when pollen forms).
Corn loves fertile, well-draining soil, so side-dress with compost or balanced fertilizer when plants reach 12 inches tall. Watch for yellowing lower leaves—this signals nitrogen deficiency. Mulch around the base with straw or grass clippings to retain moisture and suppress weeds. Avoid tilling near corn plants, as their roots are shallow and easily damaged.
✂️ Step 5: Monitor and Adjust for Even Maturity
Thin again if needed when plants are 6-8 inches tall, leaving only the strongest 2-3 per cluster. This prevents overcrowding, which leads to smaller ears and increased disease risk. If you notice uneven growth (some plants lagging), check for consistent moisture—corn is sensitive to drought stress at this stage.
When tassels (male flowers) appear, the plant is ready for pollination. If you’re growing more than one variety, plant them in blocks to ensure cross-pollination. Harvest when the silks turn brown and kernels feel plump when pressed—this usually happens 20-25 days after tasseling. Cut ears with 2 inches of stalk attached for longer storage.
Tips & tricks for perfect corn planting layouts
These precision planting strategies will help you achieve that perfect cornfield grid—no guesswork required.
Grid Visualization: Before digging, sketch your planting layout on graph paper using the 12-inch squares from Step 1. This helps visualize how many seeds you'll need and where to place them. I mark my rows with a string and stakes for straight lines—trust me, it makes a world of difference when you're planting hundreds of seeds.
Soil Preparation Secret: The 6-inch deep loosening mentioned in Step 1 is crucial, but don't stop there. Work in a handful of compost into each planting hole—this gives your corn roots an immediate nutrient boost. I also recommend adding a quarter teaspoon of bone meal to each hole for extra phosphorus, which helps root development. This is especially valuable if your soil tests low in nutrients.
Thinning Technique: When thinning to the strongest seedling in Step 3, use sharp scissors or a knife to cut rather than pull. This minimizes root disturbance and gives your remaining plant the best chance to thrive. I mark the plants I want to keep with small flags or popsicle sticks so I don't accidentally thin the wrong ones. The 4-6 inch height guideline is perfect—any taller and you risk damaging the roots.
Watering Strategy: For that critical 2-3 week germination period in Step 4, I set up a simple drip irrigation system on a timer. This ensures consistent moisture without overwatering. Once your plants reach 12 inches tall, switch to watering at the base only—wetting the leaves promotes fungal diseases. The 1.5 inches during tasseling is non-negotiable; this is when your plants need maximum hydration for pollination.
Pro Tips for Corn Seed Spacing
- These precision planting strategies will help you achieve that perfect cornfield grid—no guesswork required.
- Grid Visualization: Before digging, sketch your planting layout on graph paper using the 12-inch squares from Step 1.
- Soil Preparation Secret: The 6-inch deep loosening mentioned in Step 1 is crucial, but don't stop there.
Frequently asked questions
Got questions about corn seed spacing? You’re not alone—proper spacing can make or break your harvest! Here are answers to the most common queries to help you plant with confidence.
What’s the ideal distance between corn seeds when planting?
The standard spacing for corn seeds is 4–6 inches apart in rows, with rows spaced 24–36 inches apart. Tighter spacing (3–4 inches) works for sweet corn, while field corn often uses wider gaps (6+ inches) to reduce competition. Adjust based on your corn variety and soil fertility!
When is the best time to plant corn seeds with proper spacing?
Plant corn seeds when soil temperatures reach 60°F (15°C) or higher and all frost risk has passed. In most regions, this falls between late April and early June. Early planting (too cold) slows germination, while late planting (near summer) can stress plants before harvest. Use a soil thermometer to check!
Can I plant corn seeds too close together, and what happens if I do?
Yes! Overcrowding leads to stunted growth, poor ear development, and increased disease risk from poor airflow. Plants compete for nutrients, water, and sunlight, resulting in smaller yields. If you’ve already planted too close, thin seedlings to the recommended spacing once they’re 4–6 inches tall.
Are there alternatives to hand-spacing corn seeds?
For large fields, use a precision planter or row marker to maintain consistent spacing. Some gardeners also try hill planting (3–4 seeds per mound, spaced 3 feet apart), which works well for sweet corn varieties. Just monitor for thinning needs early on!
What should I do if my corn seeds aren’t germinating evenly?
Uneven germination often stems from inconsistent moisture, temperature fluctuations, or poor seed quality. Ensure seeds are planted 1–1.5 inches deep in warm, moist soil. If germination is spotty, check for pests (like wireworms) or fungal issues. Replant thin areas with fresh seeds if needed, but avoid overcrowding!
Wrapping up and next steps
Perfecting your corn seed spacing is the secret to a thriving crop—consistent germination, stronger stalks, and bountiful yields start with precision! Whether you’re a seasoned farmer or a backyard gardener, understanding the right spacing (like 12–15 inches within rows and 30–36 inches between rows) sets the stage for success.
Now that you’re armed with the know-how, grab your tools and put those seeds in the ground with confidence!
🌱 Next step: Mark your rows, adjust your planter, and watch your corn grow tall and proud! Happy planting! 🌽