
Lawn
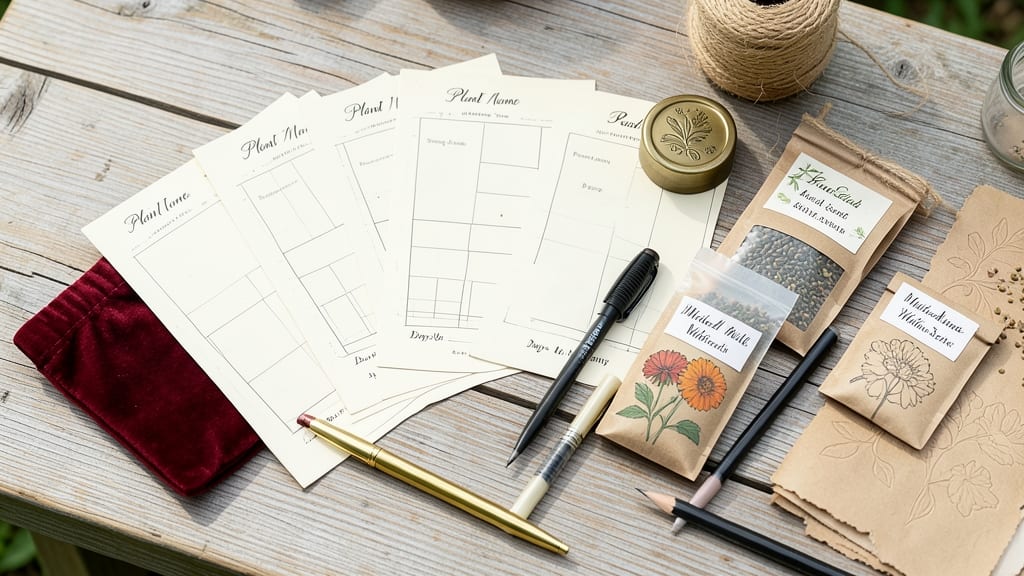
Your seeds deserve better than flimsy store-bought packets. 🌱 Making seed packets at home turns scraps into long-lasting storage that keeps seeds viable for years—while cutting costs and waste.
I learned this trick after watching my heirloom tomato seeds lose viability in their original packaging, and now I never buy seed envelopes again.
The best part? You only need 3 supplies: recycled paper or cloth, a simple adhesive, and a marker for labels. No fancy tools required—just a quiet afternoon and a little creativity.
I use old book pages or fabric scraps because they breathe better than plastic, which traps moisture and speeds up seed spoilage.
By the time you're done, you'll have custom seed packets that protect against humidity, light, and pests. The right storage method can extend seed life from 2-3 years to 5+ years, and you'll know exactly what's inside without peeking.
Plus, your garden becomes a self-sustaining system where nothing gets wasted.
Works for any seed type, from tiny lettuce seeds to large beans. Here's how to make them last—without breaking the bank or the planet. Let's get started with what you already have at home.
📚 In This Guide
- What you need
- Instructions
- Tips and common mistakes
- Wrapping up and next steps
What you need
- ● Seed paper or heavyweight paper (80-100 lb test, acid-free, and archival-quality for longevity) – 1 sheet per packet.
- ● Seed envelopes or kraft paper (4" x 9" or custom-sized) – 1 per seed type.
- ● Seeds (clean, dry, and properly labeled) – quantity depends on packet size.
- ● Permanent markers (archival ink for labeling) – 1-2 colors.
- ● Glue or double-sided tape (acid-free, non-toxic) – small bottle or roll.
- ● Ruler and pencil (for precise measurements).
- ● Scissors or paper cutter (for clean cuts).
- ○ Optional: Sealable bags (for bulk seed storage before packaging).
- ● Wax paper or parchment (to line envelopes for moisture resistance).
- ● Clear plastic sleeves (for waterproofing if storing in humid climates).
- ● Stickers or labels (pre-printed or custom-designed for branding).
- ● Hole punch and twine (to create hanging seed packets).
- ● UV-protective sleeves (to shield seeds from light degradation).
Step-by-Step instructions for creating homemade seed packets
Here's how I preserve seeds for years—no fancy equipment, just simple supplies and a little patience.
📄 Step 1: Gather Clean, Dry Seeds
Start with fully mature seeds from healthy plants. Allow them to dry completely on a paper towel for 3-5 days in a dry, dark place—this prevents mold. I spread mine out on a cookie sheet and stir them daily until they feel crisp and light. For best results, harvest seeds in the morning when humidity is lowest.
Use a fine-mesh strainer to remove any debris or chaff that might have stuck to the seeds. This ensures your packets stay clean and free from pests. If you're working with tiny seeds like lettuce or carrots, I recommend using a small paintbrush to transfer them to your packets—it's less messy than pouring.
📐 Step 2: Choose Your Packaging Materials
For long-term storage, I use envelopes made from acid-free paper—they won't degrade over time. Standard 4x6 inch envelopes work perfectly for most seed types. Label each envelope with the seed variety, harvest date, and any special notes (like "needs stratification" or "short shelf life").
For extra protection, place a small silica gel packet inside each envelope—it absorbs moisture and keeps seeds viable for years. You can find these at craft stores or online. If you're using paper packets, fold them carefully with the label facing outward so you can read it easily later.
📝 Step 3: Fill and Seal the Packets
Use a funnel or small spoon to fill each envelope with seeds, leaving about ½ inch of space at the top. Tap the envelope gently on the counter to settle the seeds evenly—this prevents them from shifting and breaking the seal. For larger seeds like beans or peas, I add a tiny piece of tissue paper inside first to cushion them.
Seal the envelope with a small piece of clear tape or a wax seal if you're using decorative packets. If you're storing them long-term, I recommend adding a second layer of protection: place the sealed envelope inside a ziplock bag with a desiccant packet. This extra step keeps moisture out completely.
⏰ Step 4: Store in a Cool, Dark Place
Find a spot in your home that stays 40-50°F and has low humidity—ideal conditions mimic a refrigerator's back shelf. I store my seed packets in a sealed plastic container with a few more desiccant packets to absorb any lingering moisture. Avoid basements or attics, as temperature fluctuations there can damage seeds.
Check your packets every 1-2 years to ensure they're still sealed and dry. If you notice any signs of moisture or mold, transfer the seeds to fresh packets immediately. Most seeds stay viable for 2-5 years under these conditions, though some (like onions or leeks) may only last 1 year.
📅 Step 5: Test Viability Before Planting
Before using seeds stored for more than 2 years, do a quick viability test. Place 10 seeds between two damp paper towels in a sealed plastic bag. Keep them in a warm spot (70-75°F) and check daily. If 50% or more sprout within 7-10 days, your seeds are still good to plant.
If germination rates are low, you can still try planting them—but expect slower or uneven growth. I like to label my packets with the year and test a few each season to keep track of their viability. This way, I always know which seeds to prioritize for planting.
Tips & tricks for perfect homemade seed packets
Here's what I've learned over years of seed saving—these little tricks make all the difference between seeds that last and seeds that fail.
Drying is Everything: The 3-5 day drying period in Step 1 is non-negotiable for preventing mold. I learned this the hard way after losing a batch of tomato seeds to dampness. Place a small fan nearby to circulate air gently—this speeds up drying without creating humidity. For extra insurance, sprinkle a tiny bit of diatomaceous earth (food-grade only) on the paper towel; it absorbs moisture without harming seeds.
Labeling Strategy: Don't just write the seed type—include the harvest year and any special notes like "needs cold stratification" or "short shelf life." I use a fine-tip permanent marker for labels because regular pens smudge over time. For bulk seed storage, consider a small spreadsheet to track viability tests and germination rates by year.
Packaging Protection: The ziplock bag with desiccant packet in Step 3 is my secret weapon for long-term storage. I double-bag all packets meant to last more than 3 years, especially for seeds like parsley or cilantro that have shorter natural lifespans. For seeds that need stratification, I add a small piece of damp paper towel inside the packet before sealing.
Storage Spot Selection: Your refrigerator's crisper drawer is perfect for seed storage—it maintains that 40-50°F range without the temperature swings of a basement. If you don't have a refrigerator option, a cool pantry corner works too, but avoid areas near windows or appliances that generate heat. I store mine in a small plastic bin with a tight lid to prevent accidental light exposure.
Pro Tips for Make Seed Packets
- Here's what I've learned over years of seed saving—these little tricks make all the difference between seeds that las...
- Drying is Everything: The 3-5 day drying period in Step 1 is non-negotiable for preventing mold. I learned this the h...
- Labeling Strategy: Don't just write the seed type—include the harvest year and any special notes like "needs cold str...
Frequently asked questions
Got questions about crafting your own seed packets? You’re not alone—many gardeners want to ensure their DIY efforts pay off! Here are answers to the most common queries to help you succeed:
Can I use any paper for seed packets, or do I need special materials?
While any paper can work in a pinch, opt for acid-free, archival-quality paper (like seed packet paper or heavy cardstock) to prevent seeds from degrading over time. Avoid newspaper or glossy paper—these can break down faster and reduce germination rates. If you’re repurposing materials, ensure they’re dry and free of chemicals!
How long will seeds stored in homemade packets last?
With proper sealing and storage (cool, dark, dry), most seeds stay viable for 1–5 years, depending on the type. Leafy greens (like lettuce) last ~1 year, while hardy veggies (tomatoes, beans) can endure 3–5 years. Label packets with harvest dates to track freshness—older seeds may germinate slower or unevenly.
What’s the best way to seal packets if I don’t have wax or glue?
No wax? No problem! Try these alternatives:
- Clear tape: Seal edges tightly with packing tape or duct tape (avoid masking tape—it can degrade).
- Beeswax or soy wax: Melt in a double boiler, dip the packet edges, and let cool for a waterproof barrier.
- Plastic wrap + twist tie: Wrap the packet in plastic, secure with a tie, and tuck the end into the packet for extra protection.
Do seeds need to dry completely before packaging?
Absolutely!
Moisture is the enemy of seed longevity. Spread seeds on a paper towel or screen in a well-ventilated area for 2–5 days (or until brittle). Test dryness by crushing a few—if they powder easily, they’re ready. Store packets in a cool (50–70°F), dry place (like a fridge or basement) to prevent mold.
My seeds aren’t germinating after storage—what went wrong?
Troubleshooting time! Check these culprits:
- Old seeds: Test germination by planting a few—if <10% sprout, replace the packet.
- Poor sealing: Leaks or dampness can cause rot. Inspect packets for tears or condensation.
- Storage conditions: Heat or light speeds up degradation. Relocate to a darker, cooler spot.
- Improper drying: Overly moist seeds may mold. Next time, dry them longer or use a dehumidifier.
Wrapping up and next steps
Creating your own seed packets is a rewarding way to preserve heirloom varieties, save money, and ensure your garden thrives year after year! 🌱 With just a few simple materials and a little patience, you can extend the life of your seeds while adding a personal touch to your gardening routine.
Now that you’re equipped with the know-how, why not start small—gather a few seeds from your favorite plants and turn them into custom packets today? Happy gardening, and may your future harvests be bountiful! 🌟