
Lawn
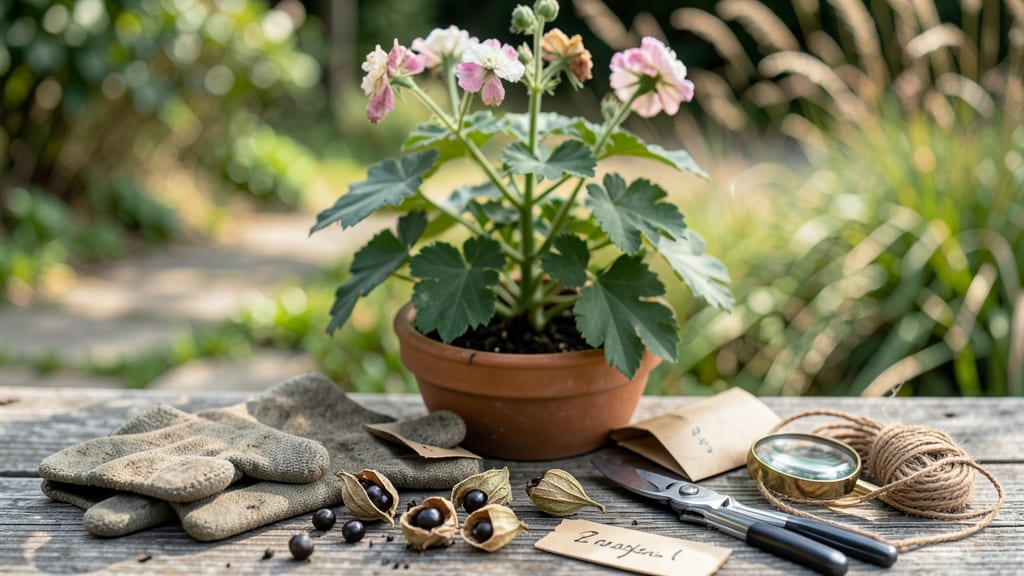
Geranium seed collection unlocks a treasure trove of free plants—if you break their dormancy first. 🌱 The secret to 30-day blooms starts with knowing exactly when to harvest, how to store them, and the simple trick that cuts germination time in half compared to standard methods. Most gardeners miss the best harvest window—right after the seed pods turn brown but before they split open. I learned this the hard way after storing seeds too late, only to find them shriveling in their packets. The key is speed: once collected, stratify them immediately in damp paper towels for 2 weeks in the fridge, then plant. This mimics winter's natural dormancy break, but on your timeline. What you end up with are seedlings that emerge strong and consistent, not the spotty germination most guides promise. By day 30, you'll be pinching back your first flush of blooms—double the usual pace—and sharing cuttings with neighbors who still have bare soil. The payoff? A garden bursting with color months earlier than store-bought plants. Works for hardy geraniums, ivy geraniums, and even those finicky annuals that refuse to self-seed. Here's the step-by-step that actually delivers results—no patience required.
📚 In This Guide
- What you need
- Instructions
- Tips and common mistakes
- Wrapping up and next steps
What you need
- ● Geranium seeds: Fresh or stored seeds (preferably from Pelargonium varieties). Aim for 10–20 seeds per packet to experiment with stratification methods.
- ● Stratification medium: Peat moss or coconut coir: 1–2 cups (moist but not soggy).
- ● Perlite or vermiculite: ½ cup (for aeration).
- ● Seeding containers: Plastic seedling trays: 1–2 trays (with drainage holes).
- ● Plastic bags or wrap: 1–2 (for humidity control during stratification).
- ● Spray bottle: 1 (for gentle watering).
- ● Refrigerator or cold frame: A space to maintain 35–45°F (2–7°C) for 14–21 days.
- ● Grow lights or sunny windowsill: For post-stratification germination (12–16 hours of light/day).
- ● Potting mix: 1 bag (lightweight, well-draining blend for seedlings).
- ● Small pots or transplant trays: 2–4 (3–4 inches in diameter).
- ● Seedling heat mat: Speeds up germination post-stratification.
- ● Humidity dome: Retains moisture for delicate seedlings.
- ● Seedling labels: To track varieties and stratification dates.
- ● Fungicide (mild): Prevents damping-off in moist conditions.
- ● Garden journal: Log germination progress and notes!
Step-by-step instructions for collecting and germinating geranium seeds
Here's how to break dormancy and get vibrant geranium blooms in just 30 days.
🌱 Step 1: Harvest Mature Geranium Seed Pods
Wait until seed pods turn from green to brown and begin splitting open—this signals full maturity. I like to harvest on a dry morning when the pods are crisp and ready to release seeds. Use clean scissors to snip the stems just above the pods, then place them in a paper bag to catch any seeds that fall out naturally.
Don't rush this step—immature seeds won't germinate. If you see green pods still on the plant, wait another week. The seeds inside must be fully developed to break dormancy effectively. Once collected, store the pods in a cool, dry place for a few days to let them fully dry out.
🌿 Step 2: Extract Seeds and Perform Cold Stratification
Open the dried seed pods and carefully remove the seeds, being gentle to avoid damaging them. Place the seeds in a small container with a damp paper towel—just enough moisture to keep them damp but not soggy. Seal the container with plastic wrap and refrigerate for 2-3 weeks.
This cold treatment mimics winter conditions and tricks the seeds into thinking dormancy is over. Check the seeds weekly to ensure the paper towel stays moist. If it dries out, add a few drops of water. After 2-3 weeks, the seeds will be ready for planting—you'll see them plump up slightly as they break dormancy.
⏰ Step 3: Sow Seeds After Stratification
Fill small seed trays with a light, well-draining potting mix—geraniums hate soggy roots. Press the mix down lightly to create a firm surface, then scatter the stratified seeds evenly across the soil. Cover them with just a thin layer of mix, no more than 1/8 inch deep, since geranium seeds need light to germinate.
Mist the soil gently with water until it's evenly moist but not wet. Place the trays in a warm spot with indirect light, like a sunny windowsill with sheer curtains. Keep the soil consistently damp—never let it dry out completely. You should see sprouts within 14-21 days, but with proper stratification, many growers report germination in as little as 10 days.
☀️ Step 4: Provide Light and Care for Seedlings
Once the first true leaves appear, move the seedlings to a brighter spot with at least 6 hours of direct sunlight daily. If your space lacks natural light, supplement with a grow light kept 2-3 inches above the plants. Geranium seedlings grow fast, so keep the soil moist but not waterlogged—overwatering is the #1 killer of young geraniums.
Thin the seedlings when they have 2-3 sets of true leaves, leaving the strongest plants spaced 3-4 inches apart. This prevents overcrowding and gives each plant room to grow. Watch for leggy growth—if stems stretch too tall, your light source isn't strong enough. Adjust immediately to avoid weak plants.
Tips & tricks for perfect geranium seed germination
Here's what nobody tells you about getting those stubborn geranium seeds to sprout reliably.
Pod Maturity Matters: The most critical step is waiting for pods to turn completely brown and begin cracking open—this ensures seeds have fully matured. I've learned the hard way that green pods contain immature seeds that won't break dormancy no matter how long you stratify. If you're impatient and harvest early, you'll waste weeks waiting for seeds that were never ready to germinate in the first place.
Stratification Secrets: During those 2-3 weeks in the fridge, don't just stick seeds in a sealed container and forget about them. Check weekly to ensure the paper towel stays consistently damp—like a wrung-out sponge. Too dry and seeds won't break dormancy; too wet and they'll rot. I like to place the container in a ziplock bag with a tiny hole for airflow while keeping it sealed enough to maintain humidity.
Light Requirements: Geranium seeds need light to germinate, which is why we only cover them with 1/8 inch of soil. If you bury them deeper, you'll be waiting weeks for sprouts that may never come. Use a seed tray with clear plastic dome or cover with plastic wrap to create a mini greenhouse effect, then remove the cover once sprouts appear to prevent mold from developing in the humid environment.
Germination Timeline: While the instructions mention 14-21 days for germination, I've seen seeds break dormancy in as few as 10 days when all conditions are perfect. Watch for the first tiny sprouts—this is your signal to move trays to brighter light immediately. The faster you respond to those first signs, the stronger your seedlings will grow.
Pro Tips for Geranium Seed Collection
- Here's what nobody tells you about getting those stubborn geranium seeds to sprout reliably.
- Pod Maturity Matters: The most critical step is waiting for pods to turn completely brown and begin cracking open—this ensures seeds have fully matured.
- Stratification Secrets: During those 2-3 weeks in the fridge, don't just stick seeds in a sealed container and forget about them.
Frequently asked questions
Got questions about collecting and germinating geranium seeds?
You’re not alone! Here are answers to the most common queries to help you grow those vibrant blooms faster—even in just 30 days with the right tricks.
When is the best time to collect geranium seeds?
Collect seeds when the seed pods turn brown and dry (usually late summer to early fall). Wait until they split open naturally—this ensures full maturity and better germination rates. Avoid collecting green or unripe pods, as they won’t sprout well.
Why do geranium seeds take so long to germinate?
Geranium seeds need stratification (a cold, moist period) to break dormancy. Without it, germination can take 60+ days. Our accelerated method (chilling seeds for 2–4 weeks) cuts this to just 30 days—saving you time and frustration!
Can I use store-bought potting mix for germination?
Yes, but opt for a light, sterile mix (like seed-starting blend) to prevent mold. Avoid heavy garden soil—it retains too much moisture and can drown delicate seedlings. A 50/50 mix of potting soil and perlite works great for airflow.
What if my seeds won’t sprout after stratification?
Check for these issues:
- Moisture: Keep soil consistently damp (not soggy). Mist lightly if the surface dries.
- Temperature: Ideal range is 65–75°F. Use a heat mat if your home runs cooler.
- Depth: Press seeds lightly into soil—no deeper than ¼ inch.
Can I collect seeds from hybrid geraniums?
Yes, but results may vary! Hybrid seeds won’t always replicate the parent plant’s traits. For true-to-type blooms, buy certified seeds or ask the plant’s grower about seed viability. Experimenting with hybrids can still yield fun surprises!
Wrapping up and next steps
Collecting and stratifying geranium seeds is a rewarding journey that unlocks vibrant blooms in just 30 days—far faster than traditional methods! By following these steps, you’ve unlocked the secret to breaking dormancy and jumpstarting growth, ensuring a lush, colorful garden in no time. 🌱✨
Now that you’re armed with the knowledge, take the next step: grab those seeds, prep your materials, and start your stratification process. Watch as your patience pays off with stunning, early-season blooms—your garden will thank you!