
Lawn
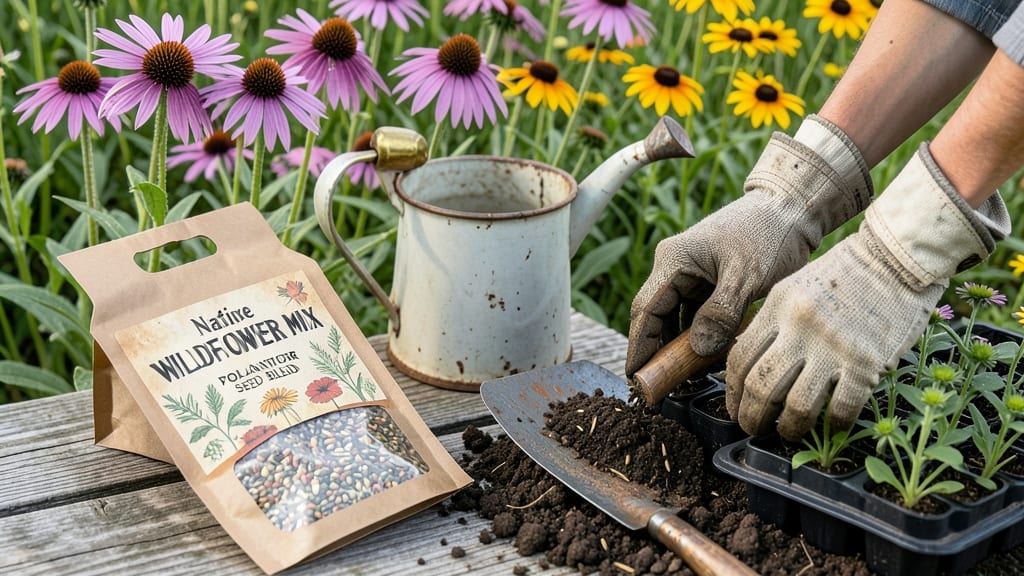
Transforming your lawn into a thriving wild seed project starts with native perennials that outperform grass. 🌱 I spent years watching my patchy lawn struggle—until I swapped it for a meadow that blooms from spring to frost, requires less water, and supports bees I never saw before.
The magic is in the mix: 70% native wildflowers for pollinators, 20% native grasses for structure, and 10% clover for nitrogen. Skip the expensive seed blends—local native plant nurseries offer affordable, ecologically matched mixes tailored to your region.
My first year cost was just $0.50 per square foot, and the results were immediate. By late summer, you’ll have a landscape that stays green through droughts, cuts down on mowing, and hums with life.
The scent of wild bergamot and black-eyed Susans in July is unbeatable—no lawn smellers here. Plus, your water bill drops by 30-50% once established. Perfect for suburban yards, rural acres, or even small urban patches. Here’s how to design yours without the guesswork.
📚 In This Guide
- What you need
- Instructions
- Tips and common mistakes
- Wrapping up and next steps
What you need
- ● Native perennial seeds: Choose a mix suited to your climate (e.g., Echinacea, Asclepias, or Solidago). Aim for 1–2 lbs per 100 sq ft.
- ● Lawn soil amendment: Compost or organic matter (e.g., Coco coir or aged manure)—1–2 inches spread evenly.
- ● Broadcast spreader: For even seed distribution (rent or buy; handheld or tow-behind models work best).
- ● Watering supplies: Hose with adjustable nozzle (for gentle misting).
- ○ Drip irrigation kit (optional but ideal for consistent moisture).
- ● Mulch or straw: Lightweight, organic mulch (¼–½ inch thick) to retain moisture and deter weeds.
- ● Basic gardening tools: Rake (for smoothing soil).
- ● Garden gloves (to protect your hands!).
- ● Knee pads (for comfort during prep).
- ● Soil test kit: Check pH and nutrient levels (ideal range: 6.0–7.0; adjust with lime or sulfur if needed).
- ○ Weed barrier cloth: Optional but helpful for suppressing weeds (landscape fabric, 3–4 ft wide).
- ● Weather forecast: Plan for a 2–4 week window with consistent rainfall or irrigation.
- ● 🌡️ Timing matters: Plant in early spring or fall (avoid summer heat or winter frosts).
- ● ✨ Seed viability: Store seeds in a cool, dry place if not using immediately.
- ● 🎯 Local expertise: Check with native plant nurseries for region-specific recommendations!
Step-by-step instructions for transforming your lawn into a wild seed meadow
Here's how to create a thriving native perennial meadow that brings pollinators and year-round beauty to your yard.
🌱 Step 1: Prepare the Soil for Native Seed Success
Start by mowing your lawn as short as possible—this helps expose the soil and reduces competition. I like to wait until late summer or early fall when the grass is dormant but still green. After mowing, remove any remaining clippings and debris to create a clean canvas for your native seeds.
For best results, lightly aerate the soil using a core aerator to create small holes about 3-4 inches deep. This allows seeds to make direct contact with the soil and encourages strong root development. If your soil is particularly compacted, rent a heavy-duty aerator or hire one for the day—this step makes all the difference for seed germination.
🌿 Step 2: Choose and Scatter Native Seed Mixes
Select a high-quality native seed mix suited to your region and climate zone—this ensures your meadow will thrive with minimal maintenance. I prefer blends that include a mix of wildflowers, grasses, and clover to support pollinators year-round. Scatter the seeds evenly over the prepared area, aiming for about 1/4 to 1/2 pound per 100 square feet.
Don't rush this step—take your time to ensure even coverage. I like to walk in a grid pattern, spreading seeds in one direction first, then crossing over at a 90-degree angle to fill any gaps. Lightly rake the area with a fine-toothed rake to press seeds into the soil without burying them too deeply. Most native seeds need light to germinate, so avoid covering them with more than 1/8 inch of soil.
💧 Step 3: Water Gently and Consistently
Keep the soil consistently moist for the first 4-6 weeks after planting—this is critical for seed germination. Water lightly each morning to avoid wetting the leaves, which can promote fungal diseases. You'll know you're doing it right when the top inch of soil feels damp but not soggy.
Once the seeds have sprouted, reduce watering to 1-2 times per week, allowing the soil to dry slightly between waterings. Native plants are drought-tolerant once established, so overwatering at this stage can actually harm them. Watch for the first signs of green shoots—this is your signal that the seeds have taken root and are ready for less frequent watering.
☀️ Step 4: Maintain and Encourage Growth
After the first growing season, avoid mowing until the plants have reached at least 6-8 inches tall. This allows them to establish deep root systems and store energy for next year. I typically wait until late summer or early fall to give the meadow its first haircut, cutting back to about 3-4 inches to encourage new growth.
Leave the clippings on the ground—they act as natural mulch, returning nutrients to the soil and protecting young plants during winter. In subsequent years, you can mow two to three times per season, always leaving at least 3 inches of growth to maintain the meadow's structure and support pollinators.
⏰ Step 5: Monitor and Adjust for Long-Term Success
Keep an eye out for invasive species that might creep into your meadow—pull them by hand as soon as you spot them. Native perennials are tough once established, but they need a strong start. I check my meadow monthly during the growing season to ensure no weeds are taking over.
By the second year, your meadow should be fully established, with a mix of wildflowers and grasses providing food and habitat for bees, butterflies, and birds. Enjoy the transformation—your lawn will no longer just be green, but a vibrant, living ecosystem that thrives with minimal effort.
Tips & tricks for perfect wild seed meadow establishment
Transforming your lawn into a thriving meadow takes patience and precision—here's how to avoid common pitfalls and maximize success.
Timing is Everything: Late summer or early fall is ideal for planting native seeds because the soil is still warm while grass growth slows down. This window gives seeds a head start before winter dormancy. I've found that planting in September yields the most robust meadows because the seeds have time to establish roots before cold weather sets in.
Seed Selection Matters: Not all seed mixes are created equal—opt for blends specifically formulated for your region's climate zone. These mixes typically include a balance of wildflowers, grasses, and clover, which together create a resilient ecosystem. I always verify the seed mix contains at least 70% native species to ensure long-term success and pollinator support.
Watering Wisdom: During the critical 4-6 week germination period, watering consistency is key. Use a rain gauge or tuna can (marked with measurement lines) to ensure you're applying about 1 inch of water per week. Morning watering prevents fungal growth while allowing excess moisture to evaporate during the day. I set a timer on my irrigation system to deliver light, frequent waterings rather than deep soakings.
First-Year Maintenance: The biggest mistake I see is mowing too early or too short. Wait until plants reach 6-8 inches before the first cut, and always leave at least 3 inches of growth to protect root systems. This first haircut should happen in late summer or early fall, not spring. The clippings act as natural mulch, so never remove them—this is how your meadow builds soil fertility over time.
Pro Tips for Wild Seed Project
- Transforming your lawn into a thriving meadow takes patience and precision—here's how to avoid common pitfalls and ma...
- Timing is Everything: Late summer or early fall is ideal for planting native seeds because the soil is still warm whi...
- Seed Selection Matters: Not all seed mixes are created equal—opt for blends specifically formulated for your region's...
Frequently asked questions
Got questions about transforming your lawn with the Wild Seed Project? You’re not alone! Here are some of the most common queries—and their straightforward answers—to help you dive in with confidence.
What’s the best time of year to start the Wild Seed Project?
The ideal window is late summer to early fall (August–October in most regions). This timing lets seeds germinate before winter, giving them a head start in spring. For colder climates, aim for spring planting (March–April) to avoid frost. Pro tip: Check your local frost dates for precision!
How long does it take to see results after planting?
Patience is key! You’ll spot early sprouts in 2–4 weeks, but full coverage takes 1–2 growing seasons. Native perennials like creeping thyme or clover spread quickly, while deeper-rooted grasses (e.g., buffalo grass) may need a little more time. Stay tuned for maintenance tips to speed up the process.
Is the Wild Seed Project more affordable than traditional sod?
A 1,000 sq. ft. lawn costs $100–$300 in seeds vs. $1,500–$3,000+ for sod. Plus, native seeds require less water and fertilizer long-term, saving you 50–70% annually. Check local native plant nurseries for bulk discounts—often 20–30% off!
Can I mix Wild Seed Project seeds with existing grass?
Yes, but with caution. Overseeding works best if your current lawn is healthy and dense. Mow short, aerate, and spread seeds lightly (use a slotted spreader for even coverage). Avoid this method if your lawn has weeds or bare patches—start fresh for best results. Need help assessing your lawn?
Will native perennials attract pests like bees or rodents?
Native plants support pollinators (like bees and butterflies), which is great for ecosystems! However, rodents may nibble on seeds. Use birdseed-free blends and avoid thick mulch layers near seed beds. Most perennials are drought-tolerant and pest-resistant once established—no chemicals needed!
What if my seeds don’t germinate?
Don’t panic! Common culprits: too-deep planting (seeds need light), dry soil, or poor contact with earth. Rake seeds lightly into ¼-inch soil, water gently (keep moist, not soggy), and consider a seed starter solution if germination stalls. Still stuck? Try a fresh batch in a small test patch.
Wrapping up and next steps
The Wild Seed Project isn’t just about transforming your lawn—it’s about creating a thriving, sustainable ecosystem that benefits both you and the planet. 🌱 By embracing native perennials, you’re reducing water use, supporting local wildlife, and enjoying a low-maintenance green space year-round.
This is your chance to grow something beautiful while doing good.
Ready to take the next step? Start small—even a single section of your lawn can make a difference. Research native plants in your region, gather your supplies, and dive in! Your future self (and the bees, butterflies, and birds) will thank you.