
Lawn
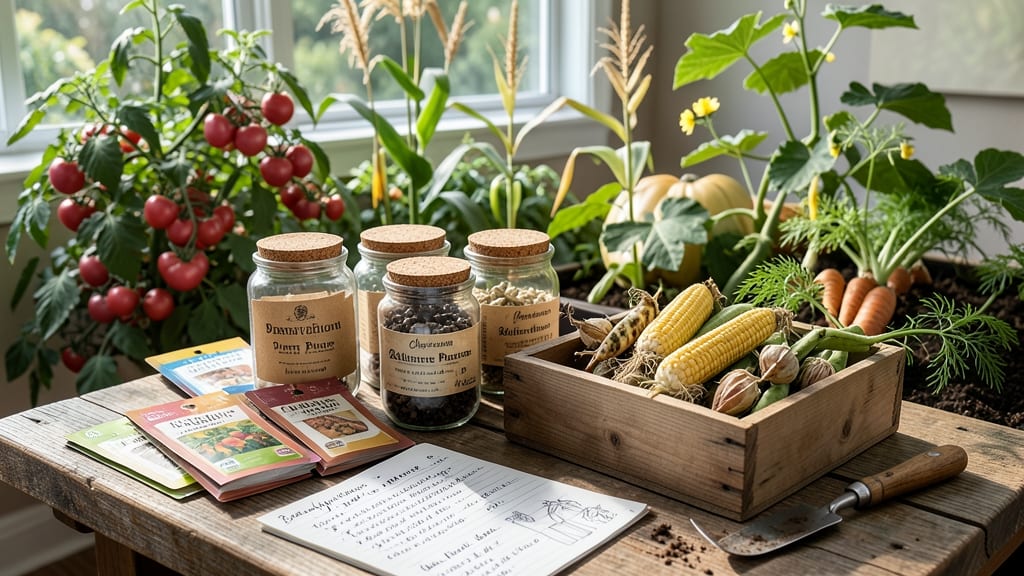
The Seed Savers Exchange has made it easier than ever to preserve the best traits of your plants so next year’s garden could be even better than this one. 🌱 I’ve been collecting heirloom seeds for years, and the difference between store-bought and homegrown is shocking—flavor, hardiness, and the pure joy of growing something rare.
The Seed Savers Exchange makes it easier than ever to preserve those traits and share them with others.
You don’t need fancy equipment—just a few simple tools like scissors, paper bags, and a dry spot. The real magic happens in the drying and storing: keep seeds cool, dry, and labeled so you’ll know exactly what to plant when spring rolls around.
This isn’t just about saving money; it’s about keeping gardening traditions alive.
By the end of summer, you’ll have a stash of seeds ready for next year’s blooms, with the potential to grow plants that thrive in your specific climate.
The satisfaction of watching something you saved grow into a thriving plant is unmatched—plus, you’ll be part of a movement that’s preserving biodiversity one seed at a time.
Whether you’re a beginner or a seasoned gardener, this method scales easily. Start small with easy-to-save plants like beans or tomatoes, then expand as you gain confidence. The best part? You’re not just growing plants—you’re growing a legacy.
📚 In This Guide
- What you need
- Instructions
- Tips and common mistakes
- Wrapping up and next steps
What you need
- ● Seeds to save: Fresh, healthy seeds from your favorite plants (aim for organic, non-hybrid varieties for best results).
- ● Paper towels or coffee filters: 2–3 sheets per seed type (for moisture control).
- ● Plastic ziplock bags: Quart-sized (1 per seed type) or gallon-sized (for bulk storage).
- ● Spray bottle: With water (for gentle misting—avoid soaking!).
- ● Permanent markers: To label seeds by plant type and date.
- ○ Small containers or egg cartons: For organizing seeds during stratification (optional but handy!).
- ● Refrigerator or cold stratification setup: A consistent 34–40°F (1–4°C) space (e.g., fridge crisper drawer).
- ○ Thermometer (optional): To monitor cold temps accurately.
- ● Gel seed packets: For long-term storage (prevents moisture damage).
- ● Desiccant packets: To absorb excess humidity in storage bags.
- ● Notebook or app: To track seed varieties, dormancy methods, and germination dates.
- ● Heat mat (for warm stratification): If breaking dormancy for tropical seeds.
Instructions for breaking dormancy in saved seeds
Here's how I prepare seeds from last year's harvest for fresh starts this spring.
🌱 Step 1: Sort and Clean the Seeds
Start by separating viable seeds from debris. Spread them on a clean, dry towel and gently rub between your palms to remove any remaining plant material. I like to use a fine-mesh strainer for this—it catches tiny seeds while letting chaff fall through. Discard any seeds that feel soft, shriveled, or have visible mold.
Next, place the seeds in a bowl of lukewarm water for 10-15 minutes. Good seeds will sink to the bottom while empty or damaged ones float. Scoop out the floaters and drain the water. This quick test saves time later by eliminating seeds that won't germinate. Pat the remaining seeds dry with a paper towel before storing.
📝 Step 2: Stratify or Scarify as Needed
Some seeds need a little help breaking dormancy. For seeds that require stratification (like many perennials), place them in a sealed plastic bag with slightly damp peat moss or paper towels. Store the bag in your refrigerator's crisper drawer for 4-12 weeks, depending on the seed type. Check weekly—if mold appears, spread the seeds on a tray to dry before resealing.
For seeds that need scarification (like some wildflowers), gently rub them between two sheets of sandpaper or nick the outer shell with a sharp knife. This mimics natural wear and tear that would happen in the wild. I use fine-grit sandpaper to avoid damaging the seed itself. Once scarified, store them in a cool, dry place until ready to plant.
⏰ Step 3: Test Germination Before Full Planting
Before committing to a full garden bed, test a few seeds to confirm they'll sprout. Moisten a paper towel and place 5-10 seeds between two of them in a shallow dish. Cover with another damp towel and seal the dish with plastic wrap to retain moisture. Store in a warm spot (70-75°F) and check daily for sprouts.
You'll see the first signs of life in 3-14 days, depending on the seed. If fewer than half sprout, consider saving more seeds next year or sourcing fresh ones. Successful test seeds give you confidence to proceed with your full planting plan. Once you confirm germination, you're ready to move to soil.
🌿 Step 4: Plant at the Right Depth and Time
Sow seeds in well-draining soil at a depth of 2-3 times their diameter. For tiny seeds, a light press into the surface often works best. I use a small spoon or my finger to create a tiny hole, drop in the seed, and cover lightly. Label each planting with the seed type and date—trust me, you'll forget by summer!
Timing matters. Plant cool-season seeds 4-6 weeks before your last frost date**, while warm-season seeds go in after the soil reaches 60°F. A soil thermometer helps here. Water gently after planting to settle the soil without disturbing seeds. Keep the soil consistently moist but not soggy until germination.
Tips & tricks for perfect seed dormancy breaking
Here's what I wish I knew years ago about getting your saved seeds ready for planting—these tricks save time and frustration.
Water Test Precision: In Step 1, use a clear bowl for the 10-15 minute water test—it makes spotting the floaters much easier. I've ruined good seeds by accidentally scooping out the wrong ones from murky water. Also, use lukewarm water (about 85°F) to avoid shocking the seeds, which can happen with cold water from the tap.
Stratification Timeframe: The 4-12 week range in Step 2 can feel vague, so here's a quick guide: Most perennials need closer to 8-12 weeks, while biennials often only require 4-6 weeks. I mark my calendar and set reminders to check for mold—once I got moldy seeds because I forgot to check for three weeks!
Germination Test Setup: For Step 3's germination test, I use a shallow glass dish with a loose lid (like a cake pan cover) to allow airflow while retaining moisture. Place the dish in a warm spot—above your fridge or near a sunny window works well. The 3-14 day range is wide because some seeds like tomatoes sprout in 3-5 days while others like peppers take 10-14 days.
Planting Depth Visual: In Step 4, I use the tip of my finger as a reference for depth—most seeds should go in about as deep as my fingernail is wide. For very tiny seeds, a light press into the surface works best, but don't worry about perfect depth—just make sure they're covered lightly. I've also found that using a small spoon to create planting holes prevents disturbing nearby seeds when planting multiple varieties.
Pro Tips for The Seed Savers
- Here's what I wish I knew years ago about getting your saved seeds ready for planting—these tricks save time and frus...
- Water Test Precision: In Step 1, use a clear bowl for the 10-15 minute water test—it makes spotting the floaters much...
- Stratification Timeframe: The 4-12 week range in Step 2 can feel vague, so here's a quick guide: Most perennials need...
Frequently asked questions
Got questions about seed saving and dormancy-breaking?
You’re not alone! Here are answers to the most common queries from gardeners just like you.
What’s the best time to collect seeds for dormancy-breaking?
Collect seeds when they’re fully mature but before they fall naturally—usually when the pod turns dry and brown (or the flower head wilts). For perennials, harvest seeds in late summer or early fall. For annuals, aim for late summer to early autumn. Pro tip: Label seeds immediately with the plant name and date!
How do I know if my seeds need dormancy-breaking?
Seeds from tropical or warm-climate plants (like tomatoes or peppers) often germinate quickly without treatment. But seeds from perennials, trees, or cool-season plants (e.g., apples, oaks, or lavender) usually need dormancy-breaking. Test it: Soak a few seeds in water—if they sprout in days, skip the process!
What’s the easiest dormancy-breaking method for beginners?
Start with stratification (cold treatment) for most perennials. Mix seeds with moist sand or peat moss, seal in a bag, and refrigerate for 4–12 weeks. For scarification (scratching seed coats), lightly sandpaper or nick hard seeds like maple or hickory. Warning: Avoid over-scratching—just enough to break the shell!
Can I use my fridge for stratification instead of a seed fridge?
Your fridge’s crisper drawer (34–40°F) works perfectly for most seeds. Just place the sealed bag in a plastic container to catch moisture leaks. For extreme cold (like for some wildflowers), bury the bag in a snowbank outside for 2–3 months. Label everything!
What do I do if my seeds still won’t germinate after dormancy-breaking?
First, check for rot (slimy texture = too much moisture). Try these fixes:
- Fresh seeds: Some seeds (like poppies) need light to germinate—plant them shallowly.
- Old seeds: Test viability by floating them in water (sinkers may still sprout).
- Heat shock: Soak seeds in warm water (120°F) for 24 hours before planting.
Wrapping up and next steps
The Seed Savers Exchange isn’t just about preserving seeds—it’s a celebration of resilience, community, and the future of gardening. By mastering dormancy-breaking techniques, you’re not only ensuring next year’s blooms but also contributing to a greener, more sustainable world. 🌱
Ready to take the next step? Start small—experiment with a few seeds this season, share your successes (and lessons!) with fellow gardeners, and watch your green thumb grow. Your garden’s legacy begins with a single seed.
Pro tip: 💡 Join local seed swaps or online forums to connect with others—collaboration makes the journey even more rewarding!