
Lawn
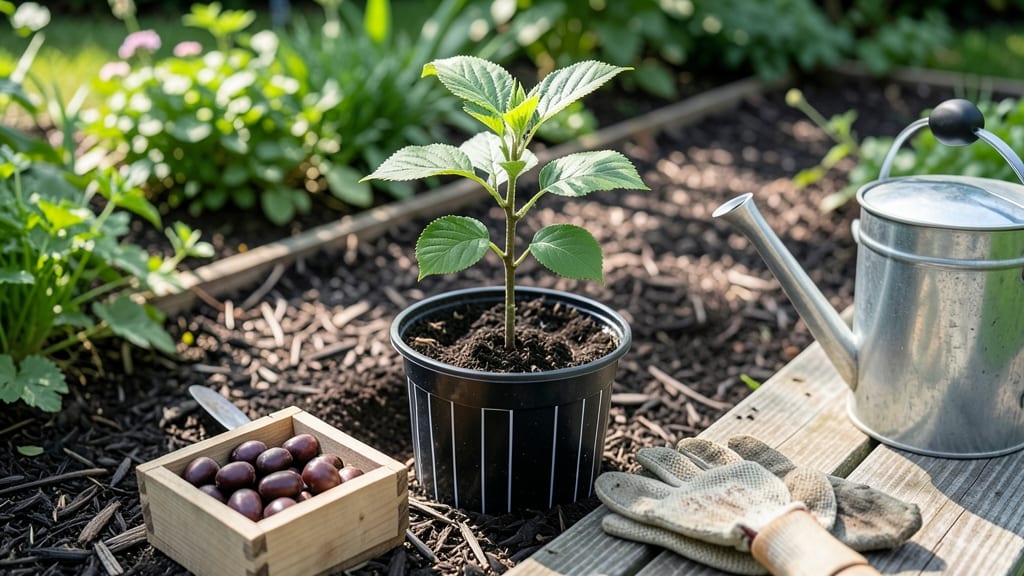
Turn a single cherry pit into a blooming tree with these fast germination tricks—no nursery needed. 🌱 I’ve grown dozens from seed, and the secret to beating slow dormancy lies in the right prep work before planting.
Most people give up after six months, but with the right approach, you’ll see sprouts in 4-8 weeks instead of waiting a year.
Start by collecting pits from ripe cherries and giving them a cold stratification period—this mimics winter and breaks dormancy. After 8-12 weeks in the fridge, soak the pits overnight to soften the shell, then plant them in moist, well-draining soil.
A small pot or even a damp paper towel works for indoor starts, while outdoor plantings need protection from pests and frost.
Once sprouted, keep seedlings in bright, indirect light and maintain consistent moisture—not soggy. You’ll notice true leaves within a month, and by next spring, they’ll be ready for transplanting.
The key is patience paired with the right conditions; these little trees reward effort with stunning spring blooms in just 3-5 years.
Works for sweet, tart, or ornamental cherries, though some varieties may take longer. Indoor starts give you a head start, while outdoor plantings can handle colder climates once established. Here’s how to avoid the most common pitfalls and get those seeds sprouting reliably.
📚 In This Guide
- What you need
- Instructions
- Tips and common mistakes
- Wrapping up and next steps
What you need
- ● Cherry seeds: 3–5 fresh, plump seeds (harvested from ripe cherries—avoid store-bought ones!)
- ● Paper towels or coffee filters: 2–3 sheets (for stratification)
- ● Plastic bag or airtight container: 1 (to hold seeds during cold treatment)
- ● Small pots or seed trays: 1–2 (3–4 inches deep, with drainage holes)
- ● Potting mix: 1 bag (sterile, seed-starting blend with perlite or vermiculite)
- ● Water spray bottle: 1 (for gentle hydration)
- ● Plastic wrap or clear lid: 1 (to create a humidity dome)
- ● Refrigerator or cold stratification setup: Access to a fridge (or a cool, dark spot like a basement)
- ● Scissors or knife: For seed extraction (if not pre-cleaned)
- ○ Heat mat (optional): 1 (to speed up germination after stratification)
- ● Grow lights: 1–2 (if natural light is weak)
- ● Fertilizer (balanced, 10-10-10 or similar): A small amount for later stages
- ● Labels & markers: To track seed varieties and planting dates
- ○ Gloves (optional): If handling large quantities of seeds or soil
Step-by-Step instructions for germinating cherry tree seeds
Here's how to break dormancy and coax those stubborn cherry pits into sprouting reliably.
🌱 Step 1: Stratify Seeds for 8-12 Weeks
Cherry seeds need cold stratification to mimic winter conditions. Place clean, dried pits in a sealed plastic bag with slightly damp peat moss or sphagnum moss. Store them in your refrigerator's crisper drawer where temperatures stay between 35-40°F. Check monthly to ensure the moss remains moist but not soggy—condensation inside the bag signals it's too wet.
This cold period breaks the seed's natural dormancy. After 8-12 weeks, you'll see the first signs of root growth through the seed coat. That's your cue to move to the next step—don't rush it. Some varieties need the full 12 weeks, while others may sprout earlier if they're particularly responsive.
🌱 Step 2: Sow Stratified Seeds in Warmth
Fill small pots with a mix of 50% potting soil and 50% perlite to create a well-draining medium. Plant each seed about 1 inch deep—deeper planting slows germination because the seedling must push through more soil. Use a pencil to make a hole, then drop the seed in gently and cover it.
Place the pots in a warm, dark location like on top of your refrigerator or near a sunny window with a cardboard box covering them. Maintain soil moisture by watering lightly when the top ½ inch feels dry. A heat mat set to 70-75°F speeds up germination, but consistency matters more than exact temperature. You should see sprouts in 2-4 weeks, though some may take longer.
☀️ Step 3: Provide Light and Gradual Acclimation
Once seedlings emerge, remove the cardboard cover and move them to a bright spot with indirect sunlight for the first week. Direct sun can scorch tender new leaves. After a week, gradually introduce them to 4-6 hours of morning sun daily, increasing exposure by 1 hour every 3 days to harden them off.
You'll notice the seedlings develop their first true leaves—these are smaller than the initial cotyledons and look like miniature versions of a cherry tree's foliage. This is when you can fertilize lightly with a diluted fish emulsion (half-strength) to encourage strong root and shoot growth. Avoid overwatering now; the soil should stay evenly moist but never waterlogged.
🌿 Step 4: Transplant and Encourage Vigorous Growth
When seedlings reach 4-6 inches tall and have developed 4-5 sets of true leaves, transplant them into individual 6-inch pots filled with a mix of 60% potting soil and 40% compost. Handle the seedlings carefully to avoid damaging the delicate root systems. Water thoroughly after transplanting to help settle the soil around the roots.
Continue providing bright, indirect light for another month before gradually introducing them to full sun. This slow transition prevents leaf scorch and ensures the seedlings develop strong stems. You'll see new growth within 2-3 weeks if conditions are right—watch for dark green, glossy leaves and sturdy stems as signs of healthy development.
⏰ Step 5: Overwinter Seedlings for Stronger Blooms
Cherry trees grown from seed take 5-7 years to bear fruit, but proper overwintering in their first year sets the stage for faster blooming later. Before the first frost, move potted seedlings to a cool, dark location like a garage or basement where temperatures stay between 35-45°F. Reduce watering to keep the soil barely moist—overwatering in winter invites rot.
In early spring, resume regular watering and fertilizing when you see new growth. This winter dormancy period mimics natural conditions and helps the young trees develop a strong root system. By the second year, you'll notice more robust growth and thicker stems—clear signs your cherry tree is on track to bloom reliably in future seasons.
Tips & tricks for perfect cherry tree germination
These game-changing strategies will help you bypass the common pitfalls of cherry pit germination and get those stubborn seeds sprouting reliably.
Cold Stratification Precision: The 8-12 week cold period is non-negotiable for breaking dormancy, but I've found that using a second refrigerator drawer (if available) creates more consistent 35-40°F conditions. Place a small thermometer inside your bag to monitor temperatures—fluctuations above 45°F can break stratification prematurely. If your fridge runs warmer, try the vegetable crisper which typically stays cooler. The key is patience: some varieties like tart cherries may need the full 12 weeks while sweet cherries often respond by 8-10 weeks.
Seedling Light Transition: When you first expose seedlings to indirect sunlight in Step 3, I recommend using a sheer curtain to diffuse light rather than relying on window placement alone. The gradual 4-6 hour morning sun introduction should happen slowly—think of it like sunbathing: you wouldn't go from zero to full sun exposure in one day. Watch for leaves that look pale or see-through as signs of too much light too soon. A grow light on a timer set to 12 hours can supplement natural light during winter months when daylight is limited.
Transplanting Timing: The 4-6 inch height and 4-5 sets of true leaves markers in Step 4 are excellent guidelines, but I've noticed that cherry seedlings often develop their first true leaves slightly earlier than expected. Don't rush the transplant—wait until you see at least 3-4 true leaves and stems that are visibly thickening. The root system will be more developed than it appears above ground. When repotting, gently squeeze the sides of the original pot to encourage roots to grow outward rather than circling.
Winter Care Secrets: For overwintering in Step 5, I've had success using clear plastic bins with ventilation holes instead of traditional pots. This creates a microclimate that maintains more consistent 35-45°F temperatures. Reduce watering to once every 3-4 weeks unless you notice the soil is completely dry—overwatering is the #1 cause of winter rot. In early spring, you'll often see new growth emerge before you even resume regular watering, which is a great sign your tree is ready for the next growing season.
Pro Tips for Seed Of Cherry
- These game-changing strategies will help you bypass the common pitfalls of cherry pit germination and get those stubb...
- Cold Stratification Precision: The 8-12 week cold period is non-negotiable for breaking dormancy, but I've found that...
- Seedling Light Transition: When you first expose seedlings to indirect sunlight in Step 3, I recommend using a sheer ...
Frequently asked questions
Got questions about growing cherry tree seeds? You’re not alone!
Here are the answers to the most common queries—from patience tips to troubleshooting—so you can nurture those tiny seeds into stunning blooms.
How long does it take for cherry tree seeds to germinate?
Cherry seeds can take anywhere from 4 weeks to 6 months to sprout, depending on the variety and pre-treatment (like stratification). Sweet cherries often germinate faster (6-12 weeks) than sour cherries. Patience is key! Keep soil moist and warm (70–75°F) to speed things up.
Do I need to cold-stratify cherry seeds before planting?
Yes! Cherry seeds have a hard outer shell that requires cold stratification (4–6 weeks in the fridge) to break dormancy. Skip this step, and germination rates will plummet. Pro tip: Mix seeds with damp sand in a sealed bag and refrigerate before planting for best results.
Can I grow a cherry tree from a seed I find in a grocery store cherry?
Technically yes, but there’s a catch: store-bought cherries are often hybrids bred for taste, not hardiness. The resulting tree may not bloom true to the parent or survive harsh winters. For reliable blooms, source seeds from local nurseries or organic growers instead.
Why aren’t my cherry seeds sprouting after months?
Several factors could stall germination: old seeds (cherry seeds lose viability after 1–2 years), poor stratification, or damp rot from overwatering. Try soaking seeds in warm water for 24 hours before replanting, or test a few with a paper towel to check viability.
How big should a cherry seedling be before transplanting outdoors?
Aim for seedlings with 2–4 true leaves (not just the first seed leaves) and a sturdy stem. Transplant on a warm, cloudy day to reduce shock. Harden off seedlings by gradually exposing them to outdoor conditions over 1–2 weeks before planting in well-draining soil.
Wrapping up and next steps
Growing cherry tree seeds into thriving blooms is totally doable with the right techniques! Remember, patience and preparation are key—whether you’re stratifying seeds, nurturing sprouts, or transplanting seedlings, each step sets the stage for vibrant spring flowers. 🌱
Ready to turn those tiny seeds into a stunning centerpiece for your lawn? Start small—grab a few seeds, follow the steps, and watch your green thumb grow! For even better results, experiment with different varieties or share your progress with fellow gardeners. Happy planting! 🌸