
Lawn
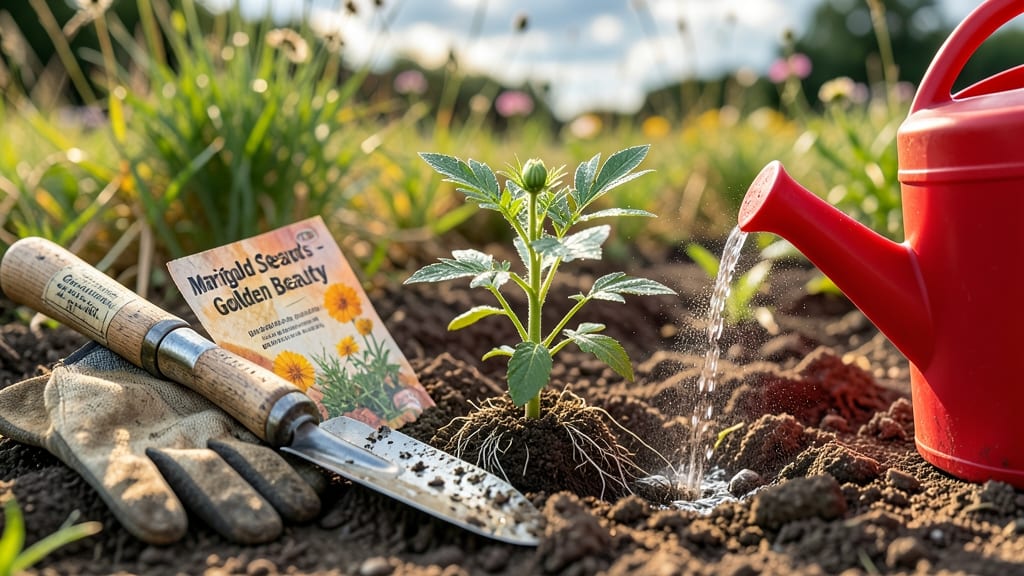
Putting seed in the ground right transforms your yard from blank canvas to thriving garden—if you nail the cold-start basics. 🌱 I’ve watched seeds fail because of one wrong move, but these steps guarantee strong starts every time, whether you’re planting veggies, flowers, or herbs.
The secret starts with soil: loosen the top 6 inches, mix in compost, and rake smooth. Seeds need darkness to germinate, so don’t bury them deeper than their size—tiny seeds go in shallow, larger ones need 1-2 inches. Water gently after planting, keeping soil moist but not soggy.
You’ll see sprouts in days or weeks, depending on the plant. Keep the area weed-free and water consistently—uneven moisture is the #1 killer. Herbs like basil pop up fast, while tomatoes take longer but reward you with lush growth.
Works for any outdoor space, from raised beds to open ground. The key is patience and prep—skip shortcuts here, and your garden will thank you all season. Ready to plant?
📚 In This Guide
- What you need
- Instructions
- Tips and common mistakes
- Wrapping up and next steps
What you need
- ● High-quality grass seed: Choose a blend suited to your climate (e.g., Kentucky Bluegrass, Fescue, or Bermuda). Quantity: 5–10 lbs per 1,000 sq ft, depending on seed type.
- ● Topsoil or seed-starting mix: Lightweight, well-draining soil (avoid heavy clay). Quantity: Enough to cover the area to a depth of 1–2 inches.
- ● Compost or organic fertilizer: A balanced option (e.g., 10-10-10) to enrich soil. Quantity: 1–2 lbs per 100 sq ft.
- ○ Lawn roller (optional but helpful): 50–75 lb roller to firm soil after seeding.
- ● Garden rake: For leveling soil and removing debris (fine-toothed for seed beds).
- ● Broadcast spreader: Evenly distributes seed (manual or drop-type).
- ● Hose with adjustable nozzle: For gentle watering (fine mist setting).
- ○ Straw or peat moss (optional): Light mulch to retain moisture (¼ inch layer).
- ○ Soil test kit (optional):strong> To check pH (ideal range: 6.0–7.0 for most grasses).
- ● Clear the area of weeds, rocks, and debris.
- ● Check the weather forecast—aim for 5–7 days of consistent moisture post-seeding.
- ● Choose a cool-season (spring/fall) or warm-season (late spring/summer) planting window for your grass type.
Step-by-step instructions for planting seeds directly in the garden
Here's how I ensure strong starts every time—no fancy tools, just smart timing and technique.
🌱 Step 1: Test Soil Temperature and Moisture
Use your finger to check if the top 2 inches of soil feels cool but not freezing—ideal for most cool-season seeds. If it's still too cold, wait until soil warms to 50°F or above (use a soil thermometer for accuracy). I press my finger in and count: if it takes longer than 3 seconds to slide out, the soil's too wet and compacted.
For dry soil, water deeply until moisture reaches 4-6 inches down. You'll know it's right when water pools on the surface briefly but drains within 15 minutes. This prevents seeds from drying out or sitting in soggy conditions. I like to water in the morning so the soil has all day to settle before planting.
☀️ Step 2: Prepare the Planting Site
Loosen the soil to a depth of 6-8 inches with a garden fork or trowel—this breaks up compacted layers and lets roots spread easily. I work in small sections (about 1 square foot at a time) so I don't disturb the soil structure too much. For rocky or clay-heavy soil, mix in 1 inch of compost to improve drainage and fertility.
Create shallow furrows or small holes—just deep enough to hold seeds without burying them too deep. Most seeds need to be planted at a depth of 2-3 times their width. For tiny seeds like lettuce, I make a tiny scratch in the soil with my finger and drop them in. Larger seeds like beans go 1 inch deep.
💧 Step 3: Plant Seeds with Precision
Space seeds according to their mature size—crowding now means thinning later, which can stress young plants. I use the back of a spoon to create evenly spaced holes if planting in rows. For broadcast sowing (scattering seeds), I sprinkle them gently and cover lightly with soil or compost.
Cover seeds with a thin layer of soil—about ¼ inch for small seeds, up to ½ inch for larger ones. Press lightly to ensure good seed-to-soil contact, which helps moisture reach the seed faster. I avoid pressing too hard, though, or I'll compact the soil and slow germination.
⏰ Step 4: Water and Protect Newly Planted Seeds
Water gently with a fine spray nozzle or watering can with a rose attachment—aim for the soil, not the seeds. You want the soil surface to look damp but not glistening. Overhead watering can wash seeds away or bury them too deep. I water in the morning so any excess moisture evaporates during the day.
Cover the area with a light layer of mulch or straw to retain moisture and protect seeds from drying out or being washed away by rain. For delicate seeds, I use a piece of mesh or a small hoop tunnel with row cover fabric. Remove the cover once seedlings emerge to prevent overheating.
🌿 Step 5: Monitor and Thin as Needed
Check daily for germination—most seeds sprout within 5-14 days, depending on the type. When seedlings have 2 true leaves (not the first tiny leaves), thin them to the strongest plant per spot. Use scissors to cut unwanted seedlings at soil level to avoid disturbing roots of the ones you keep.
Thinning might seem harsh, but crowded seedlings compete for nutrients and light, leading to weak, leggy plants. I space seedlings according to their mature size—12-24 inches apart for most vegetables, 6-12 inches for herbs. After thinning, water deeply to help the remaining plants establish strong roots.
Tips & tricks for reliable seed germination
Between us, these small details make the difference between patchy seedlings and a thriving garden.
Soil Temperature Secret: The 50°F minimum isn't just a number—it's when most cool-season seeds finally activate their germination enzymes. I test by pressing my finger in: if it feels cool but not icy, you're good. For warm-season seeds (like tomatoes), wait until soil reaches 60°F or above. A soil thermometer costs $10 and saves you from guessing.
Planting Depth Precision: That ¼-inch cover for small seeds isn't arbitrary—it's about light exposure. Too deep and they'll struggle; too shallow and they'll dry out. For tiny seeds like lettuce, I use my fingernail to make a tiny groove rather than pressing down. Larger seeds like beans can handle the full ½-inch because they store more energy reserves.
Watering Technique: The 15-minute drainage test reveals everything. If water pools longer than that, your soil's too compacted—work in some compost first. For delicate seeds, I use a spray bottle with room-temperature water to avoid shocking them. And here's what nobody tells you: watering in the morning gives seeds all day to absorb moisture before evening evaporation.
Thinning Strategy: Those 2 true leaves are your signal to act. I use clean scissors to snip seedlings at soil level rather than pulling—this prevents disturbing roots of the plants I'm keeping. The key is spacing: herbs can handle 6 inches apart, while tomatoes need the full 24 inches to avoid competition.
Pro Tips for Seed In The Ground
- Between us, these small details make the difference between patchy seedlings and a thriving garden.
- Soil Temperature Secret: The 50°F minimum isn't just a number—it's when most cool-season seeds finally activate their germination enzymes.
- Planting Depth Precision: That ¼-inch cover for small seeds isn't arbitrary—it's about light exposure.
Frequently asked questions
Got questions about getting that perfect "seed in the ground" start for your lawn?
You’re not alone! Here are answers to the most common concerns—so you can plant with confidence and watch those sprouts pop up like clockwork.
What’s the best time of year to plant grass seed for reliable germination?
For most regions, early fall (September–October) is ideal—cool temps and frequent rain create perfect conditions. Spring (March–April) is a close second, but avoid summer heat (which dries seeds out) or winter (when growth slows). Check your USDA Plant Hardiness Zone for local timing tweaks!
How long does it take for grass seed to germinate after planting?
Germination time varies by grass type:
- Cool-season grasses (like Kentucky bluegrass): 7–21 days
- Warm-season grasses (like Bermuda grass): 10–30 days
What if my seeds aren’t sprouting after 3–4 weeks?
Don’t panic! First, check soil moisture—seeds need 1–1.5 inches of water weekly (rain or irrigation). If the ground is dry, give it a deep watering. Other culprits? Too much sunlight (can bake seeds), poor soil contact (lightly rake seeds in), or old/low-quality seed. Try reseeding lightly in the same spot.
Can I plant grass seed over existing grass or weeds?
For thin or patchy lawns, yes! Mow existing grass short, then overseed. For weed-heavy areas, spot-treat weeds first (vinegar or herbicide) or smother them with cardboard before seeding. Pro tip: Use a slit seeder to ensure seeds make contact with bare soil.
How do I protect new grass seed from birds, squirrels, or pets?
Seed snackers are a real threat! Scatter birdseed or cornmeal nearby to distract them, or cover seeds with lightweight straw or netting (remove after germination). For pets, create a small fenced-off area or use a temporary wire mesh barrier. Water gently to wash away any displaced seeds.
Wrapping up and next steps
Planting a "seed in the ground" with confidence starts with patience, preparation, and the right techniques. Whether you’re a seasoned gardener or a beginner, cold-starting seeds ensures stronger, healthier growth—so don’t let early challenges discourage you. Your green thumb is closer than you think!
Ready to take the next step? Start small—plant a few seeds today and watch your lawn transform. Need more tips? Explore our seedling care guide to keep your garden thriving all season long. 🌱✨