
Lawn
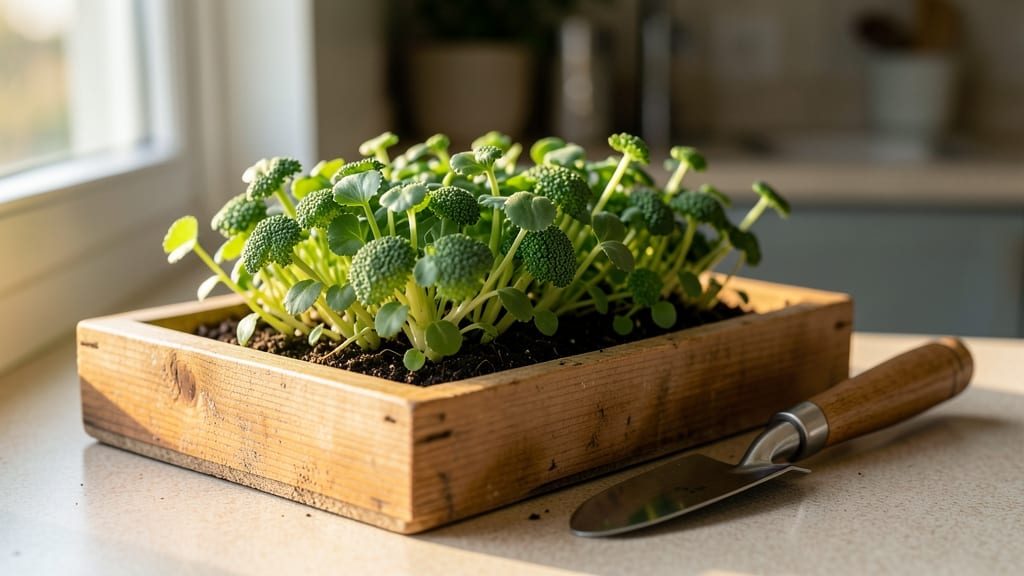
Little seed gardens can still bring big pollinator parties with the right design. 🌿 These lightweight, high-impact plots pack in blooms that attract bees, butterflies, and hummingbirds—without needing a yard. I’ve turned narrow balcony edges and window-box corners into buzzing ecosystems where every inch works harder than a traditional flowerbed.
The secret lies in choosing fast-growing annuals and perennials that thrive in shallow soil, like lobelia, alyssum, and cosmos, plus smart layering techniques. A 6-inch-deep container can hold a full pollinator menu, while vertical pockets on fences or trellises multiply growing space without taking up ground.
Even partial sun works if you pick the right plants—some, like snapdragons and sweet alyssum, bloom happily in just 3-4 hours of light a day.
By mid-summer, you’ll have a garden that’s 10 times more efficient than a traditional bed, with flowers blooming in waves from spring to frost. The best part? These tiny gardens stay lightweight enough to move when seasons change, so you can rotate them for fresh soil and pest control.
Plus, the pollinators will thank you with nonstop visits.
Whether you’re working with a sunny windowsill, a 2-foot-wide balcony, or a garden nook, these designs prove that small gardens can have a big, beautiful impact. Let’s get those seeds planted—and those wings fluttering!
📚 In This Guide
- What you need
- Instructions
- Tips and common mistakes
- Wrapping up and next steps
What you need
- ● Containers or Planters: 3–5 lightweight containers (5–10 gallons each) with drainage holes
- ● Options: Fabric grow bags, recycled buckets, or window-box planters
- ● Potting Soil: 1–2 bags of well-draining, organic potting mix (avoid garden soil)
- ● Pro tip: Mix in perlite or vermiculite (1 part per 4 parts soil) for aeration 💡
- ● Pollinator-Friendly Seeds: 5–10 seed packets of native wildflowers (e.g., coneflowers, milkweed, or bee balm)
- ● Bonus: Add herbs like lavender or borage for extra pollinator appeal!
- ● Basic Tools: 1 small hand trowel
- ● 1 pair of gardening gloves
- ● 1 spray bottle (for watering seedlings)
- ○ Optional (But Helpful!): Seed-starting tray (if pre-sprouting seeds indoors)
- ● Slow-release fertilizer (follow package instructions)
- ● Mulch or pebbles (to retain moisture)
- ● A sunny spot (at least 6 hours of direct sunlight daily)
- ● Access to water (a hose or watering can nearby)
- ● Patience! Most pollinator plants take 4–8 weeks to bloom 🌸
Step-by-Step instructions for creating pollinator-packed little seed gardens
Here’s how to craft lightweight, portable seed gardens that bring bees and butterflies to your space—no heavy soil required.
🌱 Step 1: Choose the Right Containers and Loam Mix
Select lightweight containers with drainage holes—think recycled plastic pots, coconut coir liners, or even repurposed milk cartons. The key is portability and weight, so avoid anything heavier than a gallon of water. For the loam mix, blend one part potting soil, one part perlite, and one part compost to create a fluffy, well-draining medium that mimics natural pollinator habitats.
I like to add a handful of sand to the mix for extra drainage, especially if your space gets afternoon sun. Fill each container ¾ full—this leaves room for roots to expand without spilling over the edges. Press the mix down gently to remove air pockets, but don’t compact it too tightly. The goal is a texture that holds moisture but still allows water to drain freely.
🌿 Step 2: Select Fast-Germinating, Pollinator-Friendly Seeds
Pick native wildflowers or annuals like cosmos, zinnias, or sunflowers—they’re easy to grow and irresistible to pollinators. I always include at least three types of blooms to ensure continuous nectar throughout the season. Scatter seeds ¼ inch deep and space them ½ inch apart for optimal air circulation, which prevents fungal issues.
Lightly cover the seeds with a thin layer of soil, then mist the surface with a spray bottle until evenly damp. Avoid overwatering—soggy soil can drown seeds before they sprout. Place the containers in a warm, sunny spot (or under a grow light) and keep the soil consistently moist until germination, which usually takes 5-10 days depending on the variety.
☀️ Step 3: Provide Optimal Light and Water for Rapid Growth
Once seedlings emerge, move them to a location with 6+ hours of direct sunlight daily. Pollinator plants need strong stems to support their blooms, so rotate the containers quarter-turn weekly to prevent leggy growth. If you’re using grow lights, position them 4-6 inches above the plants and keep them on for 12-14 hours a day to mimic natural daylight.
Water deeply every 2-3 days, allowing the top inch of soil to dry between waterings. Overwatering is the fastest way to kill these lightweight gardens—always check moisture by sticking your finger into the soil. You’ll know it’s time to water when the top layer feels dry to the touch. Fertilize lightly with a balanced liquid fertilizer (10-10-10) every 3-4 weeks to encourage lush, pollinator-attracting foliage.
✂️ Step 4: Encourage Blooms and Maintain Pollinator Appeal
Once plants reach 4-6 inches tall, pinch back the tips to promote bushier growth and more flowers. This step is crucial—it prevents tall, weak stems that can’t support heavy blooms. Deadhead spent flowers weekly to encourage continuous blooming, which keeps pollinators visiting throughout the season.
To maximize pollinator activity, place your little seed gardens near shrubs or taller plants—this creates a layered habitat that mimics natural ecosystems. Avoid pesticides entirely; even "organic" sprays can harm bees and butterflies. Instead, handpick pests like aphids and let nature do the rest. You’ll see bees within 2-3 weeks of the first blooms!
🪴 Step 5: Rotate and Refresh for Season-Long Beauty
Every 6-8 weeks, swap out one container for a new batch of seeds. This ensures a continuous bloom cycle and prevents pests from overwhelming any single plant. I like to keep a small notebook to track which varieties attract the most pollinators—zinnias and coneflowers are always winners in my garden.
By late summer, you can extend the season by moving containers to a sheltered spot or bringing them indoors overnight if frost threatens. Store them in a cool, dry place and water sparingly until spring. With this method, you’ll have year-round pollinator support with minimal effort.
Tips & tricks for perfect pollinator gardens
Here's what nobody tells you about creating thriving little seed gardens that actually attract bees and butterflies.
Container Selection: For maximum portability, choose containers under 2 gallons—anything heavier than that defeats the purpose. I've found that coconut coir liners (available at garden centers) are my top pick because they're lightweight, biodegradable, and have built-in drainage. If you're using plastic pots, make sure they have at least 4 drainage holes—poor drainage is the #1 killer of lightweight seed gardens.
Loam Mix Pro Tip: The sand-to-soil ratio in Step 1 is crucial for preventing compaction. If your mix feels too dense after pressing down, add another handful of perlite—this creates air pockets that roots love. I also recommend sifting the compost before mixing to remove any large chunks that could block drainage. The goal is a texture that crumbles easily between your fingers when dry.
Germination Hack: When placing containers for germination in Step 2, use a clear plastic bag to create a mini greenhouse effect. Place the bag loosely over the container (not sealed) to trap moisture and warmth—this speeds up germination from the standard 5-10 days to just 3-5 days. Just remember to remove the bag once seedlings emerge to prevent fungal growth.
Light Rotation Strategy: The weekly quarter-turn rotation in Step 3 isn't just about preventing leggy growth—it's also about creating a natural light gradient. By rotating clockwise each week, you're essentially training your plants to grow toward the sun from different angles, resulting in stronger stems. If you notice plants leaning toward one side, that's your cue to rotate immediately rather than waiting for the weekly schedule.
Pro Tips for Little Seed Gardens
- Here's what nobody tells you about creating thriving little seed gardens that actually attract bees and butterflies.
- Container Selection: For maximum portability, choose containers under 2 gallons—anything heavier than that defeats the purpose.
- Loam Mix Pro Tip: The sand-to-soil ratio in Step 1 is crucial for preventing compaction.
Frequently asked questions
Got questions about starting your own little seed gardens? Here are some common ones—and their answers—to help you grow with confidence!
What’s the best time to plant my little seed garden?
Timing depends on your climate! For most regions, plant cool-season blooms (like alyssum or sweet alyssum) in early spring or fall, while warm-season favorites (like zinnias or marigolds) thrive when soil temps hit 60°F+. Check your local frost dates for a head start!
How often should I water my tiny garden?
Keep soil consistently moist but not soggy—especially for seedlings. Water gently in the morning to avoid fungal issues. Once established, most pollinator plants need about 1 inch of water per week, but shallow containers dry out faster. A spray bottle or drip system works great!
Will my little garden actually attract pollinators?
Even small pots packed with native wildflowers, herbs (like basil or dill), or pollinator-friendly veggies (e.g., squash or cucumbers) will draw bees, butterflies, and hummingbirds. Just avoid pesticides—healthy blooms = happy visitors!
Can I reuse soil from last year’s garden?
Not ideal! Old soil may harbor diseases or depleted nutrients. Refresh with a 50/50 mix of new potting soil and compost, or swap out the top 2 inches of soil if replanting. Sterilizing with heat (like baking in the oven) also helps—just let it cool before use!
What if my seeds don’t sprout?
Don’t stress! Check for moisture, light, and warmth—most seeds need consistent dampness and a cozy spot (70–85°F). Try pressing seeds lightly into soil (don’t bury deep!) and misting daily. If still stuck, test germination by placing seeds between damp paper towels in a bag for a week.
Wrapping up and next steps
Starting a little seed garden is more than just a hobby—it’s a vibrant celebration of nature’s tiny wonders! Whether you’re nurturing pollinators or savoring homegrown blooms, these lightweight loam gardens prove that big rewards grow from small spaces.
With minimal effort, you’re creating a thriving ecosystem that benefits bees, butterflies, and your own joy.
Ready to dive in? Take the next step: Pick your favorite pollinator-friendly seeds, grab your supplies, and let your garden grow—one seed at a time! 🌱🐝