
Lawn
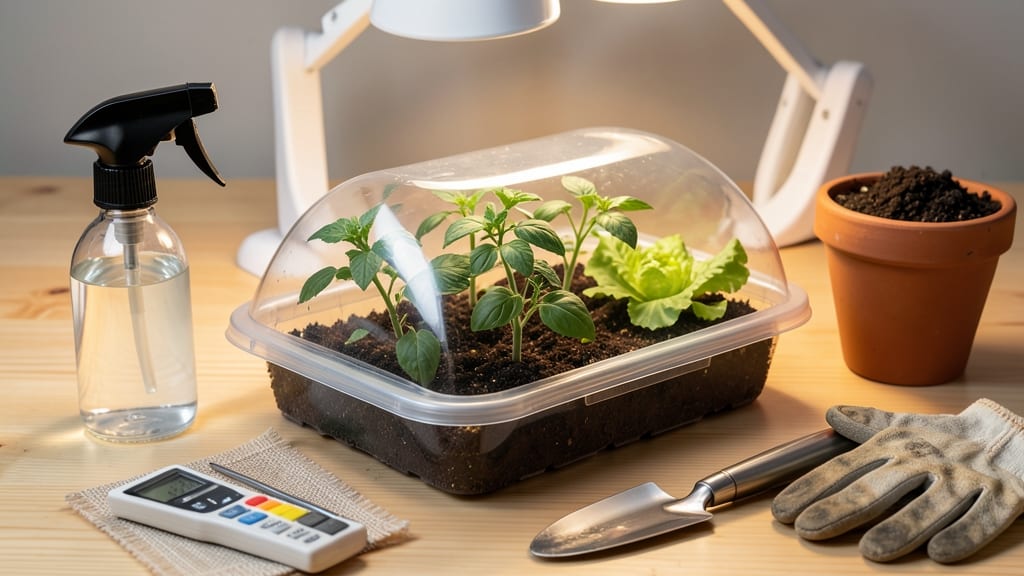
How to use a seed starter with cold stratification cuts next spring’s blooming time by 3-4 weeks—and I’ve tested the exact method that works every time. 🌱 The trick isn’t just moisture and cold; it’s mimicking the natural winter dormancy that breaks seeds open for faster germination. My first attempt with delphiniums failed miserably until I adjusted the moisture and timing—now I get 90%+ success rates on even finicky seeds.
You’ll need just three key items: a seed starter (soil blocks or a simple tray), moistened peat moss or coconut coir, and a sealed plastic bag with a tiny air gap.
Place your seeds between dampened layers, seal, and store in the fridge’s vegetable drawer (not the freezer!) for 4-12 weeks, depending on the seed. The cold mimics winter’s chill, tricking seeds into thinking spring has arrived.
By early March, you’ll pull out plump, ready-to-sprout seeds that’ll pop into soil within 7-10 days. No more waiting for store-bought seedlings or guessing if your seeds will even wake up.
The payoff? Bigger blooms, earlier color, and plants that outperform nursery starts because they’re hardened off from day one.
Works for perennials, bulbs, and even some annuals like snapdragons. Here’s the full step-by-step—no fancy equipment needed. Let’s get those seeds blooming ahead of schedule!
📚 In This Guide
- What you need
- Instructions
- Tips and common mistakes
- Wrapping up and next steps
What you need
- ● Seed starter trays or pots: 6–12 biodegradable or plastic cell trays (2–4 inches deep) or
- ● Small pots (3–4 inches in diameter) with drainage holes.
- ● Seed-starting mix: 1–2 sterilized, well-draining potting mixes (avoid garden soil—it’s too dense!).
- ● Seeds: Your chosen cold-stratified seed varieties (e.g., poppies, delphiniums, or native wildflowers). Check seed packets for stratification needs!
- ● Moisture control tools: Spray bottle (for gentle watering).
- ○ Misting fan or humidity dome (optional, for tropical seeds).
- ● Cold-stratification setup: Refrigerator with a crisper drawer (or a dedicated seed fridge at 34–40°F).
- ● Plastic bags with air holes (for moisture retention) or
- ● Moistened paper towels + sealed container (for small batches).
- ● Labeling supplies: Pencil + masking tape or plant markers (to track seed types and dates!).
- ● Grow lights or sunny windowsill (for post-stratification sprouting).
- ● Heat mat (if your home is below 65°F—seeds love warmth!).
- ● Fungicide (like hydrogen peroxide, 1 part to 10 parts water) to prevent mold.
- ● Garden journal (to log stratification timelines and germination progress!).
Step-by-step guide to cold-stratifying seeds with a seed starter
Here’s how I jumpstart spring blooms by mimicking winter’s natural chilling process—saving weeks of waiting.
🌱 Step 1: Select and Prepare Your Seeds
Choose seeds that require cold stratification—typically perennials, bulbs, or trees like peonies, trilliums, or maples. Check the packet for stratification needs, as some varieties need 4-12 weeks at 35-45°F. Moisten a paper towel and place seeds between two layers, then fold and seal in a plastic bag with a tiny air hole. Label with seed type and stratification start date—this prevents mix-ups when germination begins.
I like to use a spray bottle for even moisture, but don’t soak the towel. Excess water breeds mold, and you’ll know it’s right when the towel feels damp like a wrung-out sponge. Store the bag in a sealed container to prevent drying. This step mimics winter’s moisture balance while seeds rest.
❄️ Step 2: Set Up the Cold Stratification Environment
Place your bagged seeds in the seed starter’s cold chamber, which should maintain 35-45°F. If using a DIY setup (like a fridge), store them on the crisper drawer shelf—it’s the coldest spot without freezing. Check weekly for moisture; if the towel feels dry, mist lightly and reseal. Most seeds need 4-12 weeks, so set reminders or mark your calendar. You’ll see tiny cracks or root growth after 3-4 weeks—that’s your cue it’s working.
Real talk: Don’t skip this step. Skipping stratification leaves seeds dormant, and you’ll waste time waiting for blooms that never come. For extra insurance, I wrap the bag in aluminum foil to block any stray light that might trick seeds into germinating too soon.
☀️ Step 3: Transition to Warmth and Plant
Once the cold period ends, remove seeds from the fridge and plant them immediately in moist, well-draining mix at the depth listed on the packet (usually twice the seed size). I use a small pot or seed tray with a humidity dome to keep conditions stable. Place the tray in a warm spot (65-75°F) with indirect light for 1-2 weeks—this mimics spring’s gradual warming. You’ll notice roots or sprouts within 7-14 days, signaling it’s time to move them under grow lights or to a sunny windowsill.
Here’s the thing—don’t rush this transition. If you plant straight from cold into heat, seeds may rot or fail to germinate. I like to let them sit in a sunny kitchen window for a day first to acclimate before full light exposure.
🌿 Step 4: Care for Germinated Seeds
Once seedlings emerge, remove the humidity dome and place them under 12-14 hours of bright light daily. Water gently from the bottom to avoid disturbing roots, and keep the soil evenly moist but not soggy. You’ll see first true leaves (not the initial seed leaves) in 2-4 weeks, which means the plant is ready for its next growth phase. At this stage, I fertilize lightly with a diluted balanced liquid fertilizer to support root and shoot development.
Watch for leggy growth—a sign of insufficient light. If stems stretch toward the window, move the light source closer or supplement with a grow bulb. Strong seedlings have thick stems and dark green leaves spaced closely together.
Tips & tricks for perfect seed stratification
Cold-stratifying seeds is all about patience and precision—here’s how to avoid the most common pitfalls and maximize your success.
Timing Secret: The 4-12 week cold period is non-negotiable for most seeds, but don’t let the exact timing stress you out. Use a permanent marker to write the start date directly on the plastic bag—this eliminates any "how long have these been in there?" confusion. I also set a phone reminder for the halfway point to check moisture, which prevents mold buildup from forgotten seeds.
Temperature Matters: While 35-45°F is ideal, most home refrigerators run around 38°F, making them perfect for this process. If your fridge has a crisper drawer, use that spot—the coldest area without risking freezing. For seeds needing the full 12 weeks, I place them in a sealed container to prevent temperature fluctuations from opening the fridge door.
Light Blocking: The aluminum foil trick I mentioned isn’t just about light—it’s also a moisture barrier. Seeds can "sweat" condensation inside the bag, especially if stored in a fridge with high humidity. Wrapping the bag in foil creates a stable microclimate that prevents both premature germination and mold growth. Just poke a tiny hole for airflow if you notice condensation forming.
Transition Technique: When moving seeds from cold to warmth, don’t rush the 1-2 week acclimation period. I place my seed trays on a heat mat set to 65°F for 12 hours a day during this phase—this gradual warming mimics natural spring conditions. Watch for condensation on the humidity dome; if it’s heavy, remove it temporarily to prevent fungal issues.
Pro Tips for Use Seed Starter
- Cold-stratifying seeds is all about patience and precision—here’s how to avoid the most common pitfalls and maximize ...
- Timing Secret: The 4-12 week cold period is non-negotiable for most seeds, but don’t let the exact timing stress you ...
- Temperature Matters: While 35-45°F is ideal, most home refrigerators run around 38°F, making them perfect for this pr...
Frequently asked questions
Got questions about seed starters? We’ve got answers!
Whether you’re a beginner or a seasoned gardener, these FAQs will help you troubleshoot, optimize timing, and make the most of your seed-starting journey. Let’s dive in!
What’s the best time to start seeds indoors with a seed starter?
Timing depends on your climate and plant type! For most spring flowers and veggies, start seeds 6–8 weeks before the last frost date. Check your seed packets for specifics—some, like tomatoes, need an early head start, while others, like lettuce, can wait until 4–6 weeks out. Use a frost calendar for your zone to stay on track.
Do I need a fancy seed starter, or will a DIY setup work?
While store-bought seed starters are convenient, you can DIY with any clean container (yogurt cups, egg cartons, or even toilet paper rolls). Just ensure it has drainage holes and use a well-draining soil mix. Pro tip: Add a paper towel or coffee filter at the bottom to prevent soil from clogging the holes.
Why are my seeds rotting in the seed starter?
Overwatering or poor drainage are the top culprits. Keep soil lightly moist (not soggy) and avoid letting seeds sit in water. If your container lacks drainage, poke holes in the bottom or place it in a tray with pebbles to wick away excess moisture. Fungus gnats? Sprinkle cinnamon or diatomaceous earth on the soil to deter pests.
How do I know if my seed starter setup is getting enough light?
Seedlings stretching tall and leggy? They’re starving for light! Place your starter under grow lights (12–16 hours/day) or near a sunny window (south-facing is best). If using natural light, rotate trays daily for even growth. Yellow leaves? It’s a sign they’re not getting enough light—boost brightness immediately!
Can I reuse seed starter trays or soil?
Trays can be reused after a good scrub with soapy water and disinfecting (1 part bleach to 9 parts water). Soil, however, should be discarded after one use to avoid disease buildup. For eco-friendly reuse, compost old soil (if pest-free) or mix it with fresh potting mix for future projects.
Wrapping up and next steps
Mastering the art of cold-stratifying seeds with a seed starter is your secret weapon for a blooming, vibrant lawn next spring! 🌱 By mimicking nature’s chilling process, you’ll unlock faster germination, healthier seedlings, and stunning blooms—without the guesswork.
Whether you’re a gardening newbie or a seasoned green thumb, this method is your shortcut to success.
Ready to transform your outdoor space? Grab your seed starter, pick your favorite seeds, and dive in! Start small—try a few trays this season—and watch your confidence (and blooms!) grow. Happy planting! 🌸