
Lawn
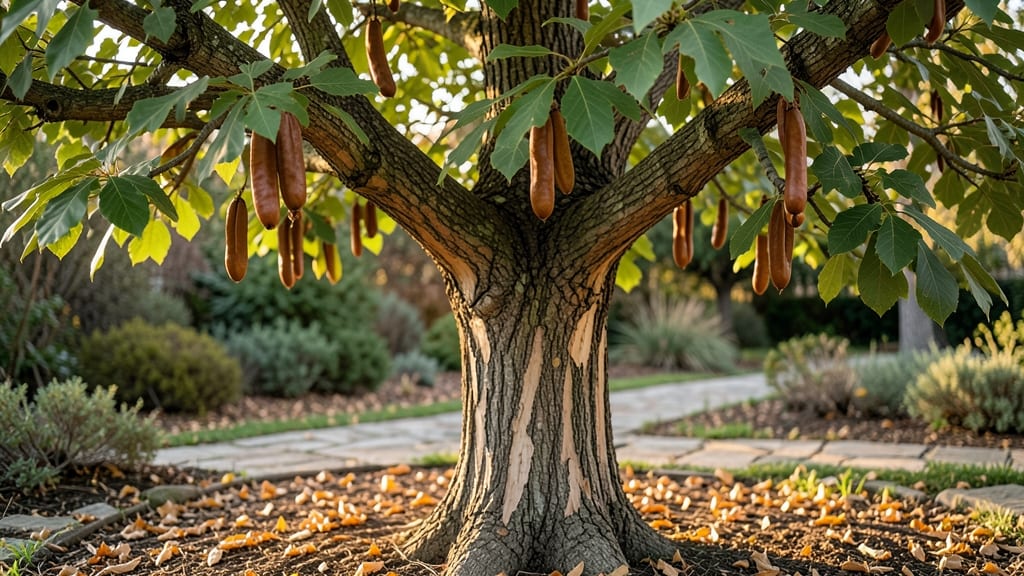
Collecting hickory seed pods in fall means future shade trees—if you know the trick. 🌱 The key to reliable sprouts isn't just planting; it's breaking dormancy through cold stratification, a process that mimics nature's timing.
I've grown dozens from seed, and the difference between success and failure often comes down to this one step. Start by harvesting fully mature pods (they should open easily when dry) and extracting the seeds inside.
Clean them thoroughly to remove any remaining husk, then store them in a moist paper towel inside a sealed bag in the fridge for 60-90 days. This cold treatment tricks the seeds into thinking winter has passed, so they'll germinate faster when you plant them in spring.
Once stratified, sow seeds 1/4-inch deep in well-draining soil with full sun exposure. Keep the soil consistently moist but never soggy, and you'll see sprouts in 4-8 weeks. The first year focuses on root development, so resist the urge to transplant too soon—patience here means stronger trees later.
Common challenges include uneven germination or mold, which you can prevent by avoiding over-moisture during stratification. With the right approach, you'll end up with sturdy young hickories that grow into the iconic shade providers of your landscape.
📚 In This Guide
- What you need
- Instructions
- Tips and common mistakes
- Wrapping up and next steps
What you need
- ● Fresh hickory seed pods: 10–20 mature, plump pods (harvested in fall when fully brown and dry). Pro tip: 💡 Avoid pods with holes or mold—they won’t sprout!
- ● Cold stratification setup: 1–2 paper towels or coir seed mats (for moisture retention)
- ● 1 ziplock bag (quart-sized) or small plastic container with a lid
- ● 1 labeling marker (to track seed pod dates)
- ● Planting containers: 1–2 seedling trays (with drainage holes) or
- ● Small biodegradable pots (2–3 inches deep)
- ● Potting mix: 1 bag of well-draining, sterile seed-starting mix (avoid garden soil—it’s too dense!)
- ● Spray bottle (for gentle watering)
- ○ Fine-mesh screen or cheesecloth (optional, for covering trays to deter pests)
- ● Heating mat (if your home is <60°F/15°C—speeds up germination)
- ● Humidity dome (to retain moisture during early growth)
- ● Grow lights (if natural light is limited)
- ● Plant journal (to log progress and stratification dates)
- ● Gloves (if handling large quantities of pods)
Step-by-step instructions for cold stratifying hickory seed pods
Here's my foolproof method for breaking dormancy and ensuring strong, vigorous hickory saplings.
🌱 Step 1: Harvest and Prepare Fresh Seed Pods
Collect fully mature hickory seed pods in late fall when they naturally drop from the tree. The husks should be thick and brown, with seeds inside that feel firm to the touch. Avoid any pods with mold, holes, or soft spots—these won't germinate. I like to gather them after the first frost when they're dry but still intact.
Open the pods carefully with a knife or pry them apart by hand to reveal the large, glossy seeds inside. Remove any seeds that show signs of damage or insect activity. Store the clean seeds in a paper bag in a cool, dry place until you're ready to start stratification. The key here is freshness—older seeds lose viability quickly.
❄️ Step 2: Perform Cold Stratification for 60-90 Days
Place the seeds in a sealed plastic bag with a moistened paper towel or vermiculite. The medium should feel damp like a wrung-out sponge—never soggy. I use a quart-sized zip-top bag and add just enough water to moisten the towel without pooling. Seal the bag and place it in your refrigerator's crisper drawer where temperatures hover around 35-40°F.
Check the seeds every 2-3 weeks to ensure they haven't dried out. If the paper towel feels dry, mist it lightly with water and reseal. The stratification period is critical—hickory seeds need this cold treatment to break dormancy. After 60-90 days, the seeds will begin to swell slightly, signaling they're ready for planting. Don't rush this step; premature planting will result in poor germination.
🌱 Step 3: Plant Stratified Seeds in Containers
Fill 4-inch deep containers with a well-draining mix of 50% potting soil and 50% perlite or coarse sand. The goal is to prevent root rot while allowing airflow. Plant each seed 1 inch deep, spacing them 3 inches apart in the container. I use biodegradable pots because they eliminate transplant shock when moving seedlings outdoors later.
Water gently but thoroughly after planting, ensuring the soil is evenly moist but not saturated. Place the containers in a shady spot for the first 2 weeks to prevent desiccation. You'll see first true leaves emerge in 4-8 weeks, depending on your climate. This is when the real growth begins—be patient, as hickory seedlings grow slowly at first.
☀️ Step 4: Acclimate and Transplant Seedlings
Once seedlings reach 6-8 inches tall with 4-6 true leaves, they're ready for their first outdoor hardening. Move them to a protected, partially shaded area for 1-2 hours daily, gradually increasing exposure over 2 weeks. Watch for wilting or yellowing leaves—this means they're getting too much sun too soon. A slow transition prevents shock.
After hardening, transplant seedlings to their permanent location in well-draining soil with full sun exposure. Space them 10-15 feet apart to allow for mature tree size. Mulch around the base with 2-3 inches of organic mulch to retain moisture and suppress weeds. The first year is about establishing roots—don't expect rapid growth. With proper care, you'll see 2-3 feet of growth per year once established.
⏰ Step 5: Maintain and Monitor Growth
Water deeply once a week during the first growing season, ensuring the soil stays consistently moist but not waterlogged. Hickory seedlings are drought-tolerant once established, but young roots need steady moisture. You'll know you're watering correctly when the top 2 inches of soil feel dry before the next watering.
Fertilize lightly in early spring with a balanced 10-10-10 fertilizer to encourage leaf and root growth. Avoid heavy fertilization, as hickories grow slowly and can scorch in rich soil. Prune only to remove dead or crossing branches—hickories develop their iconic shape naturally. With patience, your seedlings will mature into sturdy trees in 10-15 years, producing those prized nuts.
Tips & tricks for perfect hickory seedling growth
These little-known details make all the difference between struggling seedlings and thriving young hickories.
Timing is Everything: The 60-90 day stratification period might seem long, but it's non-negotiable for hickory seeds. I've seen seeds planted too early (after just 45 days) fail to germinate properly. The cold treatment mimics winter conditions, breaking dormancy and preparing the seed for germination. Place a small thermometer in your fridge near the seeds to confirm temperatures stay between 35-40°F consistently—any warmer and the stratification won't work properly.
Seed Quality Matters: In Step 1, don't overlook the importance of selecting only the firmest, most intact seeds. I've learned this the hard way—soft or damaged seeds won't germinate, no matter how perfect your stratification. After opening the pods, float-test your seeds in water: viable ones will sink immediately, while hollow or damaged ones will float. This simple test saves you from wasting time on seeds that won't grow.
Container Selection: The 4-inch deep containers specified are ideal, but consider using larger containers (6-inch deep) if you're planting multiple seeds together. This gives roots more room to establish before transplanting. I've found that biodegradable pots work best because they eliminate transplant shock when moving seedlings outdoors. If you're using regular pots, make sure they have drainage holes—waterlogged roots will kill your seedlings before they even sprout.
Hardening Strategy: During the 2-week hardening process in Step 4, I recommend starting with just 30 minutes of sunlight exposure on the first day, then gradually increasing by 30 minutes each subsequent day. This slow acclimation prevents sunburn and shock. Watch for subtle signs like slight leaf curling—they're your seedlings' way of saying "this is too much, too fast." A well-hardened seedling will have deep green leaves and sturdy stems by the time you transplant it permanently.
Pro Tips for Hickory Seed Pods
- These little-known details make all the difference between struggling seedlings and thriving young hickories.
- Timing is Everything: The 60-90 day stratification period might seem long, but it's non-negotiable for hickory seeds....
- Seed Quality Matters: In Step 1, don't overlook the importance of selecting only the firmest, most intact seeds. I've...
Frequently asked questions
Got questions about growing hickory seed pods?
You’re not alone! Here are answers to the most common queries—from timing to troubleshooting—to help you succeed with your cold stratification project.
How long does cold stratification take for hickory seeds?
Cold stratification for hickory seeds typically requires 60–90 days in moist, refrigerated conditions (34–40°F). Some seeds may germinate faster (as little as 4 weeks), while others need the full 3 months. Patience is key—don’t rush the process!
Can I use regular refrigerator space for cold stratification?
Yes! A standard fridge works well, but avoid the crisper drawer (too humid). Store seeds in a sealed container with damp paper towels or peat moss, and check monthly to prevent mold. Pro tip: Label your container with the start date!
What if my hickory seeds won’t sprout after stratification?
Try these fixes:
- Check moisture: Seeds should stay damp but not soggy.
- Test viability: Cut open a seed—if it’s hard and green inside, it’s alive.
- Extend stratification: Some hickory varieties need up to 6 months.
- Try heat: After stratification, move seeds to warm (70°F) conditions to mimic spring.
Do hickory seed pods need to be dried before planting?
Freshly harvested pods should air-dry for 1–2 weeks in a shady, well-ventilated area to prevent rot. Once dry, crack open the pods to extract the seeds—don’t plant the entire pod. Store seeds in a cool, dry place until stratification begins.
Are there faster alternatives to growing hickory trees?
While cold stratification is the most reliable method, you can:
- Buy saplings from nurseries (faster but less rewarding!).
- Use a heat mat (70–80°F) post-stratification to speed germination.
- Try scarification: Lightly sand or nick the seed coat to encourage faster sprouting.
Wrapping up and next steps
Growing hickory seed pods may seem like a challenge, but with the right cold stratification techniques, you can unlock a rewarding journey toward nurturing these resilient trees.
From gathering fresh pods to patiently monitoring moisture levels, each step brings you closer to successful sprouts—and a future canopy of shade and wildlife support. 🌱
Ready to take the next step? Start small: plant a few pods in your yard or a container this fall, and watch as your efforts bloom into generations of hickory trees. Happy growing!