
Planting
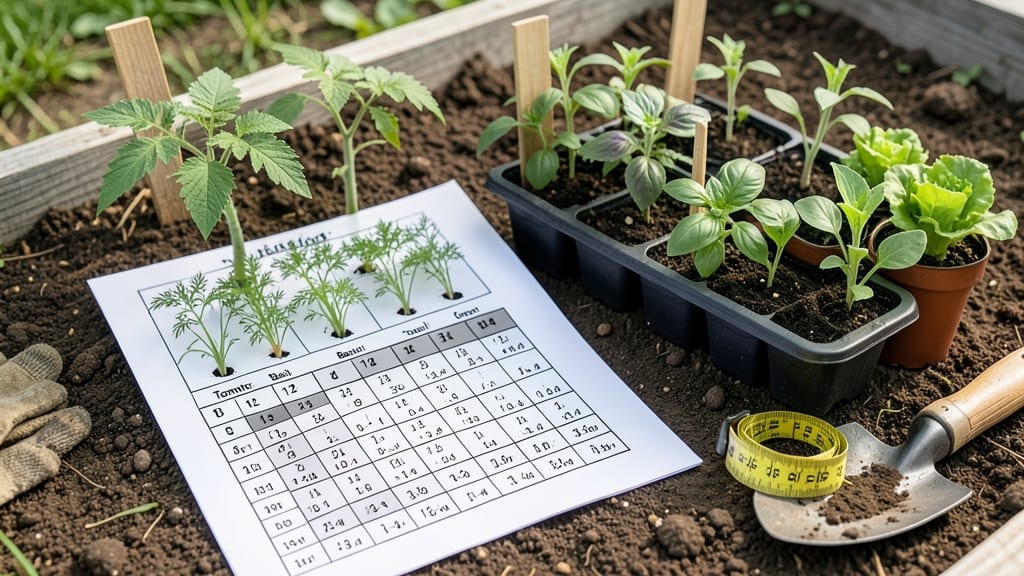
A seed spacing chart saves you from overcrowded seedlings and wasted effort. 🌱 I learned the hard way—my first year, I planted beans too close and spent summer untangling vines instead of harvesting. The right spacing means stronger plants, bigger yields, and less work weeding.
Most charts recommend spacing based on mature plant size, not seedlings. Carrots need 2-3 inches apart, while sunflowers should have 6-12 inches. The key is matching the chart to your zone's growing season length—longer seasons mean tighter spacing for quick-maturing crops.
You'll end up with rows that look professional, plants that don't compete for nutrients, and harvests that last all season. No more guessing—just reliable, zone-tailored spacing that works every time. For small gardens, use the "square foot" method; for large plots, mark rows with string and stakes.
Either way, you'll transform planting from a gamble into a foolproof system.
📚 In This Guide
- What you need
- Instructions
- Tips and common mistakes
- Wrapping up and next steps
What you need
- ● Seed packets – Verify spacing requirements per variety (e.g., tomato seeds need 18–24" apart, carrots 2–3").
- ● Graph paper or grid template – ¼" or ½" grid works best for scaling (8.5"x11" sheets recommended).
- ● Ruler or measuring tape – Must be precise (12" or 24" metal rulers ideal for accuracy).
- ● Pencil & eraser – For sketching and adjustments (graphite pencils prevent bleed-through).
- ● Calculator or spacing formula guide – Useful for converting seed counts to row lengths (e.g., 100 tomato seeds ÷ 4 plants/ft = 25 ft row).
- ● Zone-specific planting guide – USDA Hardiness Zone map or local climate data to tailor spacing (e.g., Zone 5 vs. Zone 9 needs).
- ● Colored markers or highlighters – Differentiate plant types (e.g., red for tomatoes, blue for herbs).
- ● Digital tool (e.g., Google Sheets or SeedSpacer app) – For tech-savvy gardeners who prefer templates.
- ● Plant labels & twine – To mark rows post-planting (use biodegradable labels for eco-friendliness).
- ● String & stakes – For outdoor row guides (stretch string between stakes to visualize spacing).
- ● Seedling tray & transplant markers – If starting indoors before transplanting.
How to use a seed spacing chart for perfect plant rows
Mastering spacing ensures healthy plants and bountiful harvests—here's how to apply the math.
📏 Step 1: Determine Your Planting Zone and Mature Size
First, check your USDA plant hardiness zone—it dictates when to plant, but more importantly, it helps you select varieties that thrive in your climate. Next, look up the mature plant size for each variety in your seed spacing chart. For example, tomatoes need 18-24 inches of space at maturity, while carrots only require 2-3 inches. This ensures roots and foliage have room to spread without competing.
I always jot down the mature width and height—some plants like squash sprawl wide but stay short, while others like sunflowers grow tall but have compact roots. Skipping this step leads to overcrowding, which stresses plants and invites disease. Pro tip: Check the seed packet or a trusted gardening resource if your chart doesn’t list the variety.
☀️ Step 2: Adjust Spacing for Sun Exposure and Soil Type
Plants in full sun (6+ hours daily) need slightly more space because they grow faster and larger. For instance, if your chart says 12 inches apart for basil, increase to 14-16 inches in a south-facing bed. Conversely, shade-loving plants like parsley can tolerate closer spacing (6-8 inches) since they grow slower.
Soil type also matters—sandy soil drains quickly, so roots spread wider to find moisture. In this case, increase spacing by 10-20% compared to the chart. Clay soil, which holds moisture longer, allows for tighter spacing. Always dig a small test hole to check drainage before planting—if water pools after 30 minutes, amend the soil or plant in raised beds.
🌱 Step 3: Mark Rows and Spacing with Precision Tools
Use a measuring tape and stakes to mark your rows. For straight lines, I stretch a string line between two stakes and use a pencil or dowel to poke holes at the exact spacing intervals. For example, if your chart calls for 18-inch spacing for peppers, measure 18 inches from the first hole, mark, and repeat. This prevents the "eyeballing" mistakes that lead to uneven rows.
For curved beds, use a flexible ruler or bend the tape measure gently to maintain accuracy. Label each row with the plant type and spacing on a planting map (a simple sketch or app like Gardenate works). This saves time later when thinning or harvesting. Real talk: I’ve lost count of how many times I’ve replanted a row because I forgot what went where!
✂️ Step 4: Thin Seedlings to Chart Specifications
Once seedlings reach 2-3 inches tall, use the spacing chart to thin them. For example, if carrots need 2 inches apart, snip or gently pull extra seedlings, leaving only the strongest one in each spot. I use clean scissors for a quick cut at soil level—this prevents disturbing roots of remaining plants. Water the area lightly after thinning to help roots recover.
Don’t rush this step! Overcrowded seedlings compete for nutrients, leading to leggy, weak plants. If your chart suggests 6 inches between rows, measure from the center of one plant to the center of the next in the adjacent row. This ensures airflow and reduces disease risk. Pro tip: Thin on a cloudy day to minimize stress on the plants.
📝 Step 5: Adjust for Succession Planting and Companion Plants
If you’re doing succession planting (like planting lettuce every 2 weeks), use the chart to overlap rows slightly. For instance, if your spacing is 12 inches, stagger the second planting 6 inches away from the first to maximize space. This works well for fast-growing crops like radishes or bush beans.
For companion planting, check if the chart includes notes on pairing plants. For example, basil and tomatoes thrive 6 inches apart, but basil shouldn’t be planted near rue or fennel. Use the chart as a starting point, then cross-reference with companion planting guides to fine-tune. I keep a small notebook nearby to jot down what works (and what doesn’t!) in my garden.
Tips & tricks for perfect plant spacing
Here's what nobody tells you about making spacing work flawlessly—these tricks save time and headaches.
Precision Tools Pay Off: Don't rely on your eyes alone for that 18-inch spacing between tomato plants. Invest in a simple stake-and-string method—drive two stakes at the ends of your row, stretch a string between them, then use a pencil to mark exact intervals. I've seen gardeners waste hours replanting because they eyeballed spacing. Trust me, a few dollars on a tape measure and stakes saves hours of frustration later.
Soil Test Before Planting: The 30-minute drainage test mentioned in Step 2 is non-negotiable. I learned this the hard way after planting lettuce in heavy clay—it drowned within days. Dig that test hole in multiple spots, especially if your chart suggests sandy soil adjustments. Pro tip: Amend problem areas with compost before planting; it's better than struggling with poor drainage later.
Label Everything Immediately: I can't stress this enough—mark your rows with plant names and spacing right after planting. Use small popsicle sticks or a garden marker app like Gardenate. When you're staring at 20 identical rows of basil in August, you'll thank yourself for this simple step. I've replanted entire sections because I couldn't remember what went where!
Adjust for Wind Exposure: Your chart might not account for windy conditions. If your garden gets strong breezes, increase spacing by 10-15% for tall plants like sunflowers or corn. Wind stress causes plants to grow wider to support themselves, and they'll lean if crowded. I've seen corn stalks snap in half when planted too close in windy areas—heartbreaking after all that work.
Pro Tips for Seed Spacing Chart
- Here's what nobody tells you about making spacing work flawlessly—these tricks save time and headaches.
- Precision Tools Pay Off: Don't rely on your eyes alone for that 18-inch spacing between tomato plants. Invest in a si...
- Soil Test Before Planting: The 30-minute drainage test mentioned in Step 2 is non-negotiable. I learned this the hard...
Frequently asked questions
Why does spacing matter for my plants?
Proper spacing ensures your plants get enough air, sunlight, and nutrients to thrive. Crowded seeds lead to competition, stunted growth, and higher disease risk. A good seed spacing chart balances yield with plant health—think of it as giving each seed its own "personal space" to shine!
Can I plant seeds closer together if I thin them later?
Yes! Many gardeners sow seeds closer than recommended (like 1–2 inches apart) and thin them to the correct spacing (e.g., 6–12 inches for tomatoes) once they sprout. This saves seeds and space, but be prepared to thin gently—use scissors or your fingers to avoid disturbing roots.
Does my USDA hardiness zone change spacing rules?
Not directly! Spacing is more about plant maturity and sunlight than climate. However, cooler zones (like Zone 3) may need slightly tighter spacing for slower-growing crops, while warmer zones (Zone 10+) can handle wider gaps for heat-tolerant plants. Always check your seed packet for zone-specific notes—it’s your best guide!
What if I forget my seed spacing chart mid-planting?
No stress! Use a stake or dowel rod marked with spacing measurements (e.g., 12" for carrots, 24" for corn) as a quick reference. Apps like Gardenate or a printed chart by your side will save the day. Pro tip: Snap a photo of your chart for future reference!
Are there any plants that don’t need spacing?
Most plants benefit from spacing, but some—like radishes or lettuce—can handle closer sowing (1–2 inches apart) since they’re harvested young. Fast-growing or shallow-rooted plants are the exceptions. For others, follow the chart to avoid overcrowding!
Wrapping up and next steps
Mastering the seed spacing chart is your secret weapon for a thriving garden—whether you’re a seasoned green thumb or just starting out! 🌱 By tailoring spacing to your USDA Hardiness Zone and plant type, you’ll maximize yields, minimize competition, and create a lush, organized space that’s pure joy to tend.
Ready to put your newfound knowledge into action?
Your Next Step:
- Grab your seeds and soil—plot your first row using your zone-specific chart!
- Experiment with spacing to see what works best in your microclimate.
- Share your progress with fellow gardeners (or brag to your neighbors—we won’t judge!).
Happy planting—your future harvests are waiting! 🌿