
Lawn
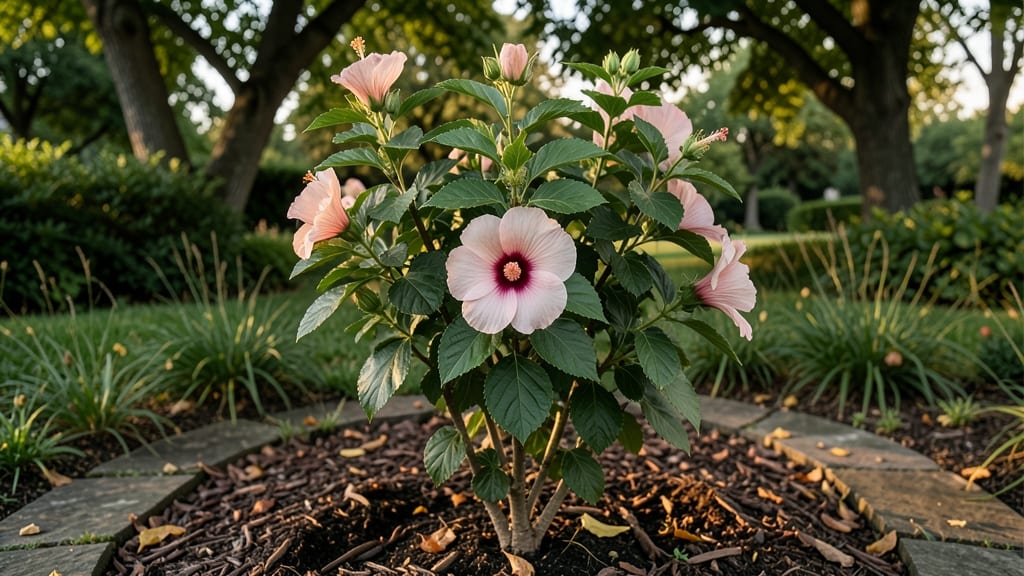
Those pictures of rose of Sharon seed pods are where its magic begins. 🌿 I’ve watched them transform from green to brown over late summer, and each one holds the potential for next year’s blooms—if you know how to break dormancy.
The pods split open when mature, revealing tiny seeds that need proper handling to grow into strong plants.
Collecting seeds is simple: wait until pods turn completely brown and start splitting, then gently squeeze them to release the seeds inside. Store them in a dry, cool place until spring planting.
Unlike some plants, Rose of Sharon seeds do produce true-to-type plants, so you won’t need grafting for consistent varieties.
Once planted, these seeds need a cold stratification period (6-8 weeks in the fridge) to germinate reliably. After that, they’ll sprout in 3-6 weeks, and you’ll have lush, disease-resistant plants ready for your landscape by next summer.
For best results, plant seeds in well-draining soil and keep them moist but not soggy. If you’re impatient, you can also root cuttings from mature plants—another foolproof way to multiply your favorite varieties.
📚 In This Guide
- What you need
- Instructions
- Tips and common mistakes
- Wrapping up and next steps
What you need
- ● Mature Rose of Sharon seed pods (harvested from healthy, disease-free plants; aim for 5–10 pods for experimentation).
- ● Well-draining potting mix (cactus/succulent blend or a 50/50 mix of perlite + peat moss; 1–2 gallons per pot).
- ● Small pots or seed trays (4–6 inches deep with drainage holes; 1–2 per pod for spacing).
- ● Plastic wrap or humidity dome (to retain moisture while germinating).
- ● Spray bottle (for gentle watering to avoid displacing seeds).
- ● Scissors or pruning shears (sterilized; for harvesting pods).
- ● Labeling tags & marker (to track seed sources and planting dates).
- ● Seed stratification setup (refrigerator or cold frame for 6–8 weeks if breaking dormancy naturally).
- ● Growth lights or sunny windowsill (12+ hours of light daily post-germination).
- ○ Fungicide (optional) (like neem oil or hydrogen peroxide solution to prevent mold).
- ○ Heat mat (optional) (for faster germination; set to 70–75°F).
- ● Notebook or app (to log seed pod sources, germination dates, and progress).
How to break Rose of Sharon seed pod dormancy for successful germination
Real talk: Rose of Sharon seeds are stubborn. Here's my battle-tested method to force those hard-coated pods to sprout reliably.
🌱 Step 1: Harvest and Prepare the Seed Pods
Collect mature seed pods when they turn brown and papery—this usually happens in late fall after the blooms fade. Cut the pods from the stem with clean pruners, leaving a ½-inch stem attachment to prevent moisture loss. Store them in a paper bag in a cool, dry place until you're ready to process them.
Before breaking dormancy, soak the pods in lukewarm water for 24 hours. This softens the outer husk and helps the seed inside absorb moisture. You'll notice the pods swell slightly—this is your signal they're ready for the next step. Don't skip this soak; it's what gets those stubborn seeds to wake up.
✂️ Step 2: Scarify the Seed Coat
Remove the seeds from the softened pods by gently squeezing them between your fingers. You'll find 1-2 plump seeds per pod. Now comes the critical part: scarification. Place each seed between two sheets of 220-grit sandpaper and rub firmly for 30-60 seconds until you see a slight nick in the seed coat.
This tiny scratch lets water penetrate the hard shell, which is what triggers germination. I like to do this on a flat surface with a piece of masking tape to hold the seed in place. You'll know you've done enough when the seed feels slightly rough to the touch—no need to go overboard and damage the seed inside.
💧 Step 3: Stratify for Cold Treatment
Place the scarified seeds in a paper towel and moisten it with distilled water until damp but not soaked. Fold the towel to create a small packet and place it in a sealed plastic bag with a ½ cup of moist peat moss. This mimics the natural cold period the seeds need to break dormancy.
Store the bag in your refrigerator's crispier drawer where temperatures stay around 35-40°F. Keep them there for 6-8 weeks, checking occasionally to ensure the peat moss stays moist. You'll see condensation on the bag—this is normal and indicates proper humidity levels. If the peat dries out, spritz it lightly with water.
☀️ Step 4: Sow and Germinate
After the cold treatment, remove the seeds from the refrigerator and sow them ¼ inch deep in a tray filled with sterile seed-starting mix. Space them 1 inch apart to prevent overcrowding. Cover the tray with a clear plastic dome or wrap it in plastic wrap to retain moisture and warmth.
Place the tray in a warm spot with indirect light and maintain a soil temperature of 70-75°F using a seedling heat mat if needed. Germination can take 3-6 weeks, so patience is key. You'll know it's working when you see tiny green shoots pushing through the soil—this is your reward for the dormancy-breaking process.
🌿 Step 5: Transplant and Care for Young Seedlings
Once the seedlings have 2-3 sets of true leaves and are about 2 inches tall, it's time to transplant them into individual 3-inch pots. Use the same sterile seed-starting mix and handle the seedlings by their leaves, not the stems, to avoid damage.
Place the pots in a bright, sunny spot with at least 6 hours of indirect light daily. Avoid direct sunlight at this stage, as it can scorch the tender seedlings. Water gently from the bottom of the pots to encourage strong root development. You'll see healthy growth when the leaves are deep green and the stems are sturdy—not leggy or pale.
Tips & tricks for perfect Rose of Sharon seed germination
Here's what nobody tells you about breaking dormancy—these tricks make all the difference between success and frustration.
Soak Test: After the 24-hour soak in lukewarm water, press a pod between your fingers. If it resists with a firm snap, soak for another 12 hours—this ensures maximum moisture penetration. I've seen pods that needed 36 hours total for proper softening, especially in dry climates. The goal is to make the husk pliable enough to release seeds without tearing.
Scarification Precision: For the 30-60 seconds of sandpaper rubbing in Step 2, think of it like filing a fingernail—just enough to create a microscopic crack, not a deep gouge. I use a magnifying glass to check for that faint white line indicating the seed coat is compromised. Over-scarifying can damage the embryo inside, so less is more here.
Cold Treatment Consistency: The 6-8 weeks in the refrigerator's crispier drawer at 35-40°F is non-negotiable for Rose of Sharon seeds. I set a calendar reminder to check moisture weekly—condensation on the bag means you're doing it right. If your fridge runs warmer, transfer the bag to a cooler spot in your garage or basement during summer months to maintain those critical temperatures.
Germination Environment: When sowing at ¼ inch depth in Step 4, use your finger to press the soil gently around each seed—this creates better soil-to-seed contact. The 70-75°F soil temperature is crucial; if your home stays cooler, invest in a small seedling heat mat ($15) for consistent results. I've had batches fail when room temps dipped below 68°F during germination.
Pro Tips for Rose Of Sharon Seed Pod Pictures
- Here's what nobody tells you about breaking dormancy—these tricks make all the difference between success and frustration.
- Soak Test: After the 24-hour soak in lukewarm water, press a pod between your fingers.
- Scarification Precision: For the 30-60 seconds of sandpaper rubbing in Step 2, think of it like filing a fingernail—just enough to create a microscopic crack, not a deep gouge.
Frequently asked questions
Got questions about those fascinating Rose of Sharon seed pods? You’re not alone! Here are some of the most common queries—plus straightforward answers to help you troubleshoot, time your efforts, and make the most of your gardening goals.
1. When should I collect Rose of Sharon seed pods for planting?
Harvest seed pods when they turn light brown and begin to dry out—usually in late fall or early winter (after frost). Avoid collecting them too early (green pods) or too late (bursting open). Store them in a cool, dry place until spring planting for best results.
2. How do I break dormancy in Rose of Sharon seeds?
Rose of Sharon seeds often need a cold stratification period to germinate. Place seeds in a sealed bag with damp peat moss and refrigerate for 4–6 weeks before sowing. Alternatively, plant them outdoors in fall—Mother Nature handles the dormancy for you!
3. Can I grow Rose of Sharon from seed pods, or should I buy plants?
Yes, you can grow from seed pods, but it takes 2–3 years for seedlings to bloom—longer than mature plants. If you want immediate color, buy established plants. For patience (and a fun project), try seeds! Just know they may not match the parent plant’s exact traits.
4. Why aren’t my Rose of Sharon seeds germinating?
Common culprits include:
- Old seeds (lose viability after 1–2 years).
- Skipping stratification—seeds need cold to break dormancy.
- Poor soil moisture (keep soil damp but not soggy).
- Planting too deep (seeds need light to germinate—sow just under the surface).
5. Do Rose of Sharon seed pods produce flowers like the parent plant?
Not always! Seed-grown plants may revert to wild traits (e.g., smaller blooms or different colors). For consistent results, propagate via hardwood cuttings or buy grafted plants. If you love the experiment, document your seedling’s journey—it might surprise you!
Wrapping up and next steps
Exploring the rose of Sharon seed pod and its dormancy-breaking secrets can transform your garden into a vibrant, blooming paradise! 🌸 Whether you're a seasoned gardener or just starting, understanding how to coax these seeds into life ensures reliable blooms year after year.
Now that you’re armed with the right techniques—from soaking to stratification—it’s time to roll up your sleeves and get growing!
Ready to see your efforts bloom? Start by gathering your seed pods today and follow the steps outlined in this guide. Happy gardening—your future rose of Sharon will thank you! 🌱