
Planting
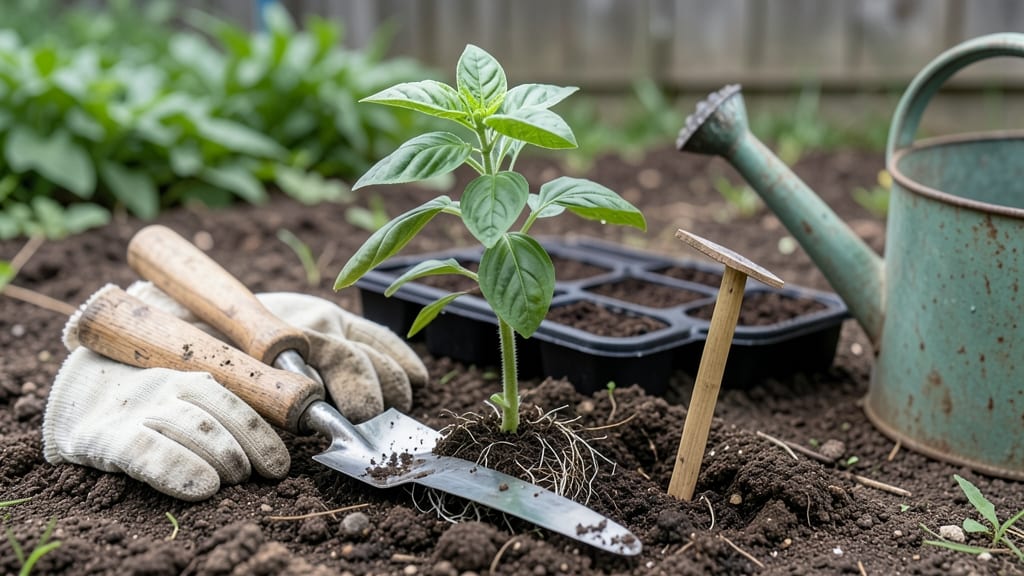
Putting the seed in the soil correctly is the difference between a thriving garden and a sad row of empty holes. 🌱 I've learned that most beginners either bury seeds too deep—smothering them—or too shallow, leaving them exposed to drying winds.
The cold-start technique I use now ensures consistent germination, even with tricky seeds like parsley or tiny lettuce. Start with loose, well-draining soil that's barely moist—not soggy, not dry. For most seeds, aim for a depth of twice the seed's width—so a 1/4-inch seed goes 1/2-inch deep.
Large seeds like beans can handle 1-2 inches, while tiny ones like carrots barely need covering. A simple finger test works: if you can't see the seed after pressing it in, you're likely too deep.
After planting, gently firm the soil around seeds to eliminate air pockets, then water lightly with a fine mist. The goal is to keep seeds moist without displacing them. Place a small marker nearby to track planting dates—this helps with thinning later.
Within 7-14 days, you should see sprouts emerging, depending on the plant type. This method works for everything from tomatoes to herbs, and it's especially helpful in cooler climates where slow germination is common.
The key is patience and precision—once you master this step, your garden's success rate will skyrocket.
📚 In This Guide
- What you need
- Instructions
- Tips and common mistakes
- Wrapping up and next steps
What you need
- ● Seeds: Choose fresh, high-quality seeds (check the packet for cold stratification requirements). Quantity: Adjust based on your planting goals (e.g., 10–50 seeds for small batches).
- ● Potting soil: Lightweight, well-draining mix (e.g., seed-starting blend or 50% peat moss + 50% perlite). Quantity: Enough to fill your containers 2–3 inches deep.
- ○ Containers: Small pots, seed trays, or biodegradable peat pellets (4–6 inches deep). Optional: Add drainage holes if using non-potential containers.
- ● Cold stratification setup: Plastic bag or airtight container (e.g., ziplock or Tupperware).
- ● Moistened paper towels or sphagnum moss (for moisture retention).
- ● Refrigerator with a crisper drawer (ideal temp: 34–40°F).
- ● Spray bottle: For gentle watering (avoid over-saturating seeds!).
- ● Label markers & tags: To track seed varieties and planting dates.
- ○ Thermometer (optional): To monitor fridge temps if needed.
- ● Grow lights or sunny windowsill: For post-stratification warmth (if seeds need light to germinate).
- ● Research your seeds: Not all plants need cold stratification! Check a seed packet or USDA zone guide for specifics.
- ● Timing: Start stratification 4–8 weeks before your last frost date (adjust for fast/slow germinators).
- ● Patience: Some seeds (like maple or apple) may take 3–6 months in the fridge—plan ahead!
Step-by-Step instructions for cold-start seed germination
This foolproof method ensures your seeds sprout strong and healthy every time—no more weak starts.
🌱 Step 1: Prep the Soil for Ideal Seedbed Conditions
Fill your container with well-draining seed-starting mix and moisten it until damp but not soggy. I like to work the soil with my fingers until it crumbles easily—this creates tiny air pockets roots need to establish. Avoid compacting it too much, or your seedlings will struggle to push through. For best results, warm the soil to 65-75°F using a seedling heat mat if your space runs cool.
Level the soil surface with the back of a spoon or your fingers, creating a smooth, even bed. This prevents seeds from rolling into uneven spots where they might dry out or get buried too deep. A flat surface also makes it easier to plant seeds at the correct depth later.
🌱 Step 2: Plant Seeds at the Right Depth and Spacing
Check your seed packet for depth recommendations—most seeds need to be planted at a depth equal to 2-3 times their diameter. For small seeds like lettuce, this might mean barely pressing them into the soil, while larger seeds like beans can go deeper. I use the eraser end of a pencil to make tiny holes if needed, but for most seeds, I just press them in gently with my finger.
Space seeds ¼ to ½ inch apart depending on the variety. Crowding leads to weak, leggy seedlings, and you’ll end up thinning later. If you’re planting multiple seeds in one cell, place them ½ inch apart—this gives you backup if some don’t germinate. After planting, cover them lightly with a thin layer of soil or mix.
💧 Step 3: Water Gently and Maintain Consistent Moisture
Use a spray bottle to mist the soil until it’s evenly damp but not waterlogged. Overwatering at this stage can wash seeds away or create a crust that blocks germination. I like to water in the morning so any excess moisture has time to evaporate during the day. Once watered, place the container in a warm, shaded spot—direct light can dry out the soil too quickly.
Keep the soil consistently moist by checking it daily. Stick your finger ½ inch deep—if it feels dry, give it a light misting. The goal is to keep the soil damp like a wrung-out sponge, not dripping wet. A clear plastic bag loosely draped over the container helps retain moisture while still allowing airflow.
☀️ Step 4: Provide Warmth and Light for Germination
Most seeds germinate best at 70-80°F, so place your container on a seedling heat mat or in a warm spot like on top of the fridge. If your home runs cool, this extra warmth can speed up germination by 3-5 days. Once seeds sprout, remove the heat source—cooler temperatures help seedlings develop stronger stems.
After the first true leaves appear (not the initial seed leaves), move your seedlings to a bright location with 12-14 hours of light daily. A south-facing window or grow light works best. Without enough light, seedlings stretch toward the source, becoming weak and prone to falling over. You’ll know they’re getting the right light when they grow upright with dark green leaves.
⏰ Step 5: Thin and Care for Strong Seedlings
Once seedlings have 2-3 sets of true leaves, thin them to the strongest one per spot. Use scissors to snip unwanted seedlings at soil level—this prevents disturbing the roots of the remaining plants. If you’re keeping multiple seedlings in a cell, thin to the two strongest. This step might seem harsh, but it ensures your plants have enough space and nutrients to grow.
After thinning, water the soil again to settle it around the remaining seedlings. Keep the soil consistently moist but not soggy, and continue providing bright light. You’ll see new growth within 3-5 days, signaling that your seedlings are thriving. This is the moment they’re ready for their next phase—whether that’s transplanting or continuing to grow in their current spot.
Tips & tricks for perfect seed germination
These simple tricks will help you avoid common pitfalls and get stronger seedlings every time.
The Soil Texture Secret: When prepping your well-draining seed-starting mix in Step 1, aim for a texture like crumbled cake—light and airy but still holding its shape. If it feels too dense, mix in a bit more perlite or vermiculite. This creates the perfect balance of moisture retention and airflow that roots need to establish quickly. The tiny air pockets prevent waterlogging while keeping moisture where seeds need it most.
Depth and Spacing Hack: For Step 2, I use the tip of my pinky finger as a rough guide for depth—most seeds should go no deeper than the first knuckle. For spacing, think "penny-sized gaps" between seeds. This prevents overcrowding that leads to leggy seedlings. A toothpick makes perfect tiny planting holes without disturbing the soil structure too much.
Warmth Timing: In Step 4, the 3-5 day germination speed boost from warmth is real, but don't leave heat mats on after sprouts appear. Once those first true leaves emerge, move to cooler temps (around 65°F) to strengthen stems. I place my seed trays on top of my fridge after germination begins—it's surprisingly consistent at maintaining that sweet spot.
Light Transition Tip: When moving seedlings to 12-14 hours of light in Step 4, do it gradually over 2-3 days. Sudden bright light can shock tender seedlings. Start with indirect light for the first day, then increase exposure. You'll notice healthier stems and less stretching when you ease them into their light routine.
Pro Tips for Put The Seed In The Soil
- These simple tricks will help you avoid common pitfalls and get stronger seedlings every time.
- The Soil Texture Secret: When prepping your well-draining seed-starting mix in Step 1, aim for a texture like crumbled cake—light and airy but still holding its shape.
- Depth and Spacing Hack: For Step 2, I use the tip of my pinky finger as a rough guide for depth—most seeds should go no deeper than the first knuckle.
Frequently asked questions
Got questions about the cold-start technique for reliable germination? You're not alone! Here are some of the most common queries—and their answers—to help you get started with confidence.
What’s the best soil-to-seed ratio for cold-start germination?
For most seeds, aim for a depth of 2-3 times the seed’s width (e.g., tiny seeds like lettuce go ¼ inch deep, while large seeds like beans need 1-2 inches). Loose, well-draining soil (like a mix of peat, perlite, and compost) ensures oxygen reaches the seed. Overcrowding can lead to mold—space seeds 2-3 inches apart for optimal airflow.
How long should I keep seeds in the fridge before planting?
Most seeds benefit from 1-4 weeks of cold stratification, depending on the type. Hard seeds (e.g., apples, cherries) need 6-12 weeks, while tender perennials (e.g., foxglove, columbine) thrive with 2-4 weeks. Check seed packets for specifics—over-stratifying can reduce viability.
What if my seeds don’t germinate after cold treatment?
First, check for moisture and warmth—seeds need consistent dampness (not soggy!) and 60–75°F soil temps. If they’re still dormant, try scarification (lightly nicking the seed coat) or a warm-cold cycle (alternate fridge and room temp for 1 week). Some seeds (like lupines or peonies) are notoriously stubborn—patience is key!
Can I use this method for indoor herbs or just outdoor plants?
Cold-start works for both, but adjust timing: herbs like parsley or cilantro (biennials) love 2-3 weeks cold, while annuals like basil or dill skip stratification. For indoor setups, use a seedling heat mat post-cold treatment to speed germination. Just avoid freezing-sensitive plants (e.g., tomatoes)—they need warm soil only.
What’s an alternative if I don’t have a fridge for stratification?
No fridge? No problem! Try these DIY hacks:
- Outdoor winter planting: Sow seeds in late fall (they’ll self-stratify over winter).
- Moist paper towel method: Wrap seeds in damp paper towels, seal in a bag, and bury it in snow or a shady garden spot for 2–4 weeks.
- DIY cold box: Use a Styrofoam cooler with a 12V battery-powered fan (set to 35–40°F) for 2–3 weeks.
Wrapping up and next steps
Planting a seed is just the beginning—giving it the right conditions to thrive is where the magic happens. 🌱 By mastering the cold-start technique, you’ve unlocked a foolproof way to boost germination rates and nurture strong, healthy plants.
Whether you’re a seasoned gardener or just starting out, this method proves that patience and preparation pay off in lush, vibrant growth.
Ready to watch your seeds sprout with confidence? Start small—pick one or two plants to test the technique, then expand your garden as you gain momentum. Grab your supplies, follow the steps, and let nature do the rest. Your green thumb is closer than you think!