
Size
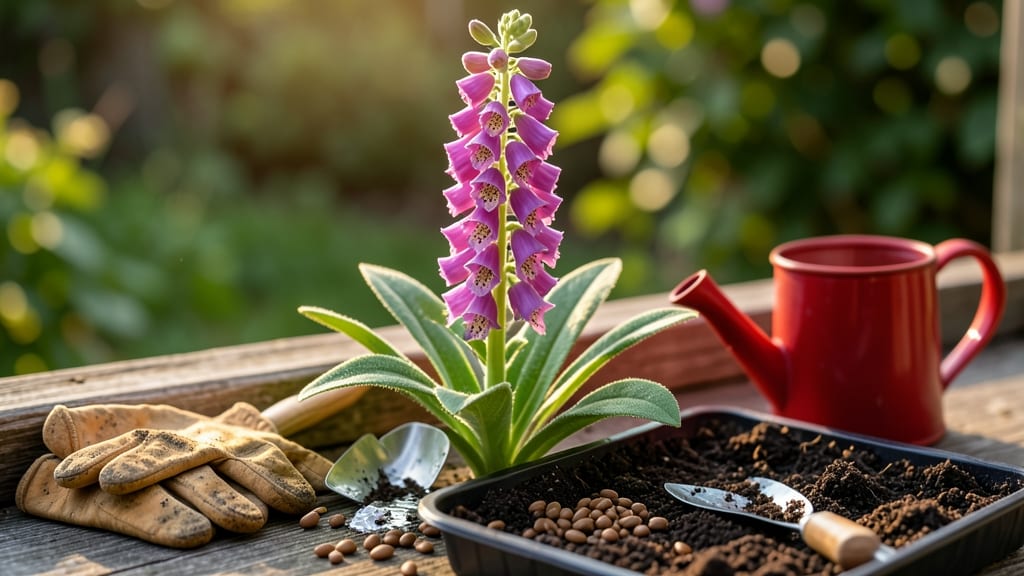
Growing foxglove seed in a garden feels like waiting for a fairy tale to unfold—those towering spires of bell-shaped blooms start as tiny, stubborn seeds that refuse to cooperate. 🌱 I’ve struggled with foxglove germination for years, but this cold-start hack finally cracked the code: a simple pre-treatment that mimics winter’s chill, tricking seeds into breaking dormancy and sprouting reliably.
No more waiting months for hit-or-miss results—just a foolproof method that works even for beginners.
The secret lies in patience and timing. Start seeds indoors 8-10 weeks before your last frost, using a light, well-draining mix (pearlite or sand helps prevent rot). After sowing, refrigerate the pots for 4-6 weeks—this mimics natural winter conditions and signals the seeds it’s safe to grow.
Once moved to a warm, bright spot, expect germination in 2-4 weeks, though some seeds may take longer. Thin seedlings to 12-18 inches apart once they’ve got two true leaves; foxglove hates crowding.
What you’ll end up with is a garden staked with shockingly lush, 4-6 foot stalks bursting with white, pink, or purple blooms—each one a magnet for hummingbirds and bees.
The key is consistency: keep soil evenly moist (not soggy) and fertilize lightly with a balanced formula once seedlings hit the ground. By midsummer, your patience will pay off with neighbor-jealousy levels of vertical drama.
This method works for all foxglove varieties, from the classic Digitalis purpurea to dwarf types like Digitalis ambigua. Just remember: foxglove is toxic—keep it away from pets and kids, and wear gloves when handling.
The trade-off? A garden that feels like stepping into a storybook, and a technique so simple even my black thumb can’t mess it up.
📚 In This Guide
- What you need
- Instructions
- Tips and common mistakes
- Wrapping up and next steps
What you need
- ● Foxglove seeds: 10–20 seeds (organic, untreated for best results). Pro tip: Buy from a reputable supplier like blank">Baker Creek Heirloom Seeds or blank">Burpee for high-quality stock.
- ● Seed-starting mix: 2–3 quarts of sterile, well-draining potting soil (avoid garden soil—it’s too dense!). Look for a mix labeled for seedlings or organic seed-starting.
- ● Seed trays or small pots: 2–4 shallow trays (3–4 inches deep) with drainage holes or 2–3 individual 4-inch pots.
- ○ Clear plastic dome or plastic wrap: To create a mini greenhouse effect (optional but highly recommended for cold-start germination!).
- ● Spray bottle: With room-temperature water for gentle hydration.
- ● Plant labels: Small sticks or tags to mark seed trays (foxglove seeds are tiny and easy to forget!).
- ○ Temperature: Foxglove seeds thrive in 60–65°F (15–18°C) for germination. A seedling heat mat (optional) can help maintain warmth if your home runs cooler.
- ● Light: Bright, indirect light (e.g., a south-facing window or a grow light). Pro tip: Avoid direct sunlight—it can dry out seeds too quickly!
- ● Humidity: High humidity (70–80%) is critical. Mist seeds daily or use a humidity dome.
- ● Patience: Germination can take 2–4 weeks—foxglove seeds are slow starters!
- ● Grow light (LED or fluorescent) for consistent light exposure.
- ● Fertilizer: A balanced, water-soluble fertilizer (5-5-5 or 10-10-10) diluted to half-strength for seedlings.
- ● Peat pellets or coconut coir: For a sustainable seed-starting alternative.
- ● Tweezers: For carefully placing tiny seeds.
- ● Journal or app: To track planting dates, watering schedules, and germination progress.
How to germinate foxglove seeds using cold stratification
This is the foolproof method I use to break foxglove’s stubborn germination barrier—no more waiting months for stubborn seeds.
🌱 Step 1: Prepare the Seeds for Cold Treatment
Foxglove seeds need a cold stratification period to mimic winter conditions and trigger germination. Start by placing the seeds in a paper towel or moistened seed-starting mix inside a sealed plastic bag. I like to use a Ziploc bag with a tiny air pocket—just enough to prevent mold but keep moisture trapped.
Label the bag with the date and variety, then refrigerate it for 4-6 weeks at 35-40°F. This chilling period is critical—without it, many seeds will simply refuse to sprout. Check the bag weekly to ensure the paper towel or mix stays damp but not soggy. If you see condensation on the inside, the moisture level is perfect.
🌿 Step 2: Sow Stratified Seeds in Moisture-Controlled Soil
After cold treatment, fill 4-inch pots with sterile seed-starting mix (foxglove hates garden soil—it’s too dense and can harbor fungal diseases). Press the soil down lightly to remove air pockets, then water it until moisture runs out the drainage holes. Let it drain completely before sowing.
Scatter the seeds ¼ inch deep—they’re tiny, so I use a toothpick to place them precisely. Space them 1 inch apart in the pot, as foxglove seedlings don’t transplant well. Cover lightly with a fine layer of mix, then mist the surface with water until it’s evenly damp. A spray bottle works best to avoid disturbing the seeds.
⏰ Step 3: Provide Warmth and Humidity for Germination
Place the pots in a warm location (around 65-70°F) with bright, indirect light. A seedling heat mat helps speed up germination, but if you don’t have one, a sunny windowsill will work. Keep the soil consistently moist—never let it dry out, but avoid soggy conditions, which cause damping-off.
Germination can take 2-4 weeks, so patience is key. You’ll see the first tiny shoots emerge as round, fuzzy leaves (cotyledons). Once they appear, remove any humidity dome or plastic wrap immediately—trapped moisture invites mold. Thin seedlings to the strongest one per pot if they crowd, as foxglove doesn’t handle competition well.
☀️ Step 4: Transition to Outdoor Conditions Gradually
When seedlings develop 2-3 sets of true leaves (not the initial cotyledons), they’re ready for hardening off. Start by placing them outside in partial shade for 1-2 hours the first day. Gradually increase their outdoor time over 10-14 days, moving them to morning sun before full exposure.
Foxglove is sensitive to transplant shock, so I recommend keeping them in their pots until they’re at least 6 inches tall. This way, you can move them directly into the garden without disturbing their roots. Choose a sheltered spot with partial shade—foxglove thrives in dappled light but can scorch in harsh afternoon sun.
Tips & tricks for perfect foxglove seed germination
Here's what nobody tells you about breaking foxglove's stubborn germination cycle.
Cold Treatment Precision: The 4-6 week refrigeration at 35-40°F is non-negotiable—foxglove seeds are hardwired to need this winter mimic. I've seen gardeners skip this step only to wait years for germination. Use a refrigerator's crisper drawer (most stable temp) and place a thermometer inside to confirm the range. If your fridge runs warmer, try a garage or unheated basement. The goal is consistent cold, not just any cold space.
Moisture Management Secret: In Step 1, aim for "damp paper towel" texture—not dripping wet, not bone dry. I test by squeezing gently: one drop should form, then stop. Too much moisture breeds mold; too little prevents germination. For extra insurance, place a second dry paper towel against the bag's outside to absorb any condensation that forms during the 4-6 weeks. This two-layer system keeps everything perfectly balanced.
Lighting Strategy: During the 2-4 week germination phase in Step 3, foxglove seedlings need bright indirect light—think "morning sun with afternoon shade." I place my pots under grow lights on a 14-hour cycle (lights on at 6am, off at 8pm) for consistent growth. If using natural light, rotate pots daily so all seedlings get equal exposure. Avoid south-facing windows in summer—the intense midday sun can scorch delicate cotyledons before they even develop true leaves.
Hardening Off Hack: When you start the 1-2 hour outdoor sessions in Step 4, watch for "wilting recovery." Healthy seedlings should droop slightly in the morning sun but perk up within an hour. If they stay wilted, they're not ready—extend the indoor phase another 2-3 days. I also mist them lightly before moving outside, which gives their cuticles time to adjust to the humidity shift. This gradual approach prevents the shock that kills so many foxglove starts.
Pro Tips for Foxglove Seed Grow A Garden
- Here's what nobody tells you about breaking foxglove's stubborn germination cycle.
- Cold Treatment Precision: The 4-6 week refrigeration at 35-40°F is non-negotiable—foxglove seeds are hardwired to nee...
- Moisture Management Secret: In Step 1, aim for "damp paper towel" texture—not dripping wet, not bone dry. I test by s...
Frequently asked questions
Got questions about growing foxglove from seed?
You’re not alone! Here are answers to the most common concerns—from timing to troubleshooting—so you can nurture these stunning blooms with confidence.
How long does it take for foxglove seeds to germinate?
Foxglove seeds are notoriously slow to sprout—often 6–12 months in ideal conditions! The key is cold stratification (mimicking winter). Plant seeds in fall or refrigerate them for 4–6 weeks before sowing. Patience pays off—those first shoots are worth the wait!
Do foxglove seeds need light or darkness to germinate?
For the first phase, darkness is critical! Cover seeds with a thin layer of soil (¼ inch) and keep them in low light during stratification. Once cold-treated, move trays to a bright, indirect spot (like a sunny windowsill) to encourage sprouting. Avoid direct sun until seedlings are established.
What if my foxglove seeds don’t sprout after a year?
Don’t toss them yet! Foxglove seeds can take up to 2 years to germinate. Check for moisture (soil should stay damp but not soggy) and ensure temps stay below 70°F (21°C). If seeds are old or stored improperly, try fresh ones—but some varieties (like Digitalis purpurea) are stubborn. Pro tip: Label seeds with the planting date to track progress!
Can I grow foxglove from seed indoors, or should I start outside?
Start indoors for better control! Sow seeds in small pots with well-draining soil, stratify them, then transplant seedlings outdoors after the last frost (foxglove hates cold snaps). If you must direct-sow, do it in fall—spring sowing often fails due to inconsistent moisture.
Are there easier alternatives to foxglove for beginners?
If foxglove’s slow germination frustrates you, try these fast-growing, equally stunning options:
- Columbine (Aquilegia): Blooms in first year, loves partial shade.
- Lungwort (Pulmonaria): Hardy, spreads easily, and thrives in cool climates.
- Snapdragons (Antirrhinum): Germinates in 7–14 days (great for quick color!).
Is foxglove toxic to pets or kids?
Yes!
All parts of foxglove (leaves, flowers, seeds) contain cardiac glycosides, which are highly toxic if ingested. Keep plants out of reach of children and pets. Symptoms of poisoning include vomiting, irregular heartbeat, or weakness—contact a vet immediately if exposure occurs.
Wrapping up and next steps
Growing foxglove from seed is a rewarding journey that brings stunning, towering blooms to your garden—especially when you master the cold-start germination hack. 🌱 With patience, the right timing, and a few simple tricks, you’ll transform tiny seeds into dramatic floral stars.
Now that you’re armed with the best materials, techniques, and troubleshooting tips, it’s time to roll up your sleeves and get planting!
Start by prepping your seed trays this week, then follow the cold stratification steps to kickstart germination. Once your seedlings sprout, keep nurturing them with care—soon, you’ll be admiring those iconic bell-shaped blooms in your garden. Ready to turn your garden into a foxglove paradise? 🌸
Next up:
- Mark your calendar for spring planting—foxglove thrives when sown at the right time!
- Explore companion planting ideas to maximize your garden’s beauty.
- Join gardening forums to share your progress and swap tips with fellow enthusiasts!