
Lawn
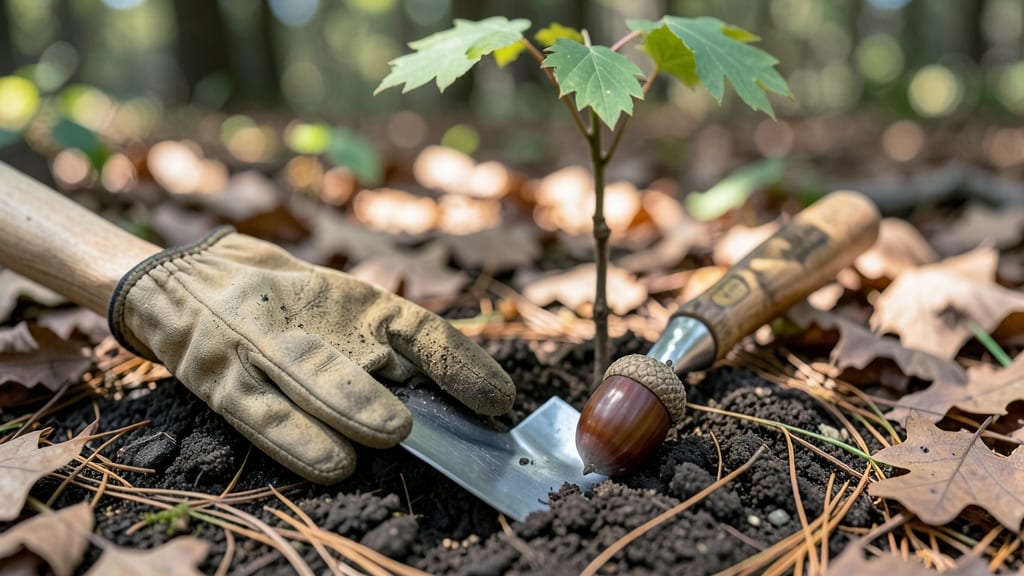
Growing an oak tree from the seed of an oak is the ultimate patience test—and the most rewarding gardening project you’ll ever start. 🌱 The journey begins with a single acorn, but with the right cold treatment, you’ll unlock the potential for a towering shade tree that could outlive you.
I’ve turned dozens of acorns into thriving seedlings, and the process is simpler than most gardeners realize.
The secret lies in cold stratification—mimicking winter’s natural process to break the acorn’s dormancy. You’ll need a damp paper towel, a sealed bag, and a refrigerator for about 90 days, but the payoff is worth it.
Once sprouted, these seedlings crave full sun and well-draining soil, making them perfect for open lawns or large containers where they can spread their roots.
By the time your oak reaches 10 years old, it could already be 20 feet tall with a trunk thick enough to wrap your arms around. The first few years are slow, but the growth accelerates—imagine the shade it’ll provide in 30 years.
Even in containers, oaks thrive if given enough space, though they’ll eventually need transplanting to the ground.
Fair warning: this isn’t a quick project. Oak trees grow at a glacial pace, but that’s part of the magic. Every stage—from the first sprout to the first acorns of its own—feels like watching nature’s slowest masterpiece unfold.
Here’s how to get started without losing your patience along the way.
📚 In This Guide
- What you need
- Instructions
- Tips and common mistakes
- Wrapping up and next steps
What you need
- ● Fresh acorns: 3–5 mature, healthy acorns (preferably from a local oak tree for best adaptation). Pro tip: 💡 Choose plump, undamaged acorns with no signs of pests or disease.
- ● Cold-stratification supplies: 1–2 breathable containers (e.g., paper towels, coffee filters, or small plastic bags with ventilation holes).
- ● Moistened potting mix or peat moss (enough to cover acorns).
- ● Plastic zip-top bags or a sealed container (for moisture retention).
- ● Planting pots: 4–6 small pots (4–6 inches deep) with drainage holes, filled with well-draining potting soil.
- ● Spray bottle: For gentle watering without disturbing the soil.
- ● Grow lights or sunny windowsill: A south-facing window or LED grow light (12–16 hours/day) for seedling growth.
- ● Fertilizer: Balanced, water-soluble fertilizer (5-5-5 or 10-10-10) for young seedlings.
- ● Humidity dome or plastic wrap (to retain moisture during germination).
- ● Soil moisture meter (to monitor hydration levels).
- ● Labeled plant tags (to track acorn sources and planting dates).
- ● Outdoor nursery space (for transplanting seedlings after 1–2 years).
Step-by-step instructions for cold-stratifying acorns
Turn those fallen acorns into sturdy saplings with this reliable cold-stratification method.
🌱 Step 1: Collect and Prepare Fresh Acorns
Gather acorns in late fall when they've fallen naturally—they'll have higher germination rates than those still on the tree. Look for plump, firm acorns with intact caps; avoid shriveled or insect-damaged ones. I like to soak them in lukewarm water for 24 hours first to soften the shell and encourage faster germination later.
After soaking, remove any remaining debris or small insects by gently rolling the acorns between your palms. Place them in a single layer on a paper towel to dry slightly—just until the shells feel dry to the touch. This prevents mold when we store them. Real talk: if you skip the drying step, you'll risk rot during stratification.
💧 Step 2: Moisten and Store for Cold Stratification
Fill a sealed plastic container with sphagnum moss or a mix of peat and perlite (about 2 inches deep in the bottom). Add enough water to moisten the mix so it feels like a damp sponge—not dripping, but holding moisture when squeezed. I use a spray bottle to avoid oversaturating.
Arrange the acorns in a single layer on top of the moist mix, spacing them about 1 inch apart. Cover them with another 1-2 inches of the same moist mix, then seal the container tightly. Place it in a refrigerator set to 35-40°F—this mimics winter conditions and breaks the acorn's dormancy.
⏰ Step 3: Stratify for 90-120 Days
Leave the container undisturbed for 90-120 days, checking monthly to ensure the mix remains moist. If it dries out, add a few spritzes of water—never soak it again. You'll know stratification is working when the acorns begin to sprout tiny white roots, usually after 6-8 weeks.
This is the moment that matters: don't rush it. Acorns need this cold period to overcome their natural dormancy. If you're impatient and plant them too soon, they'll rot in the soil. I always mark the date on the container lid so I don't forget when the stratification period ends.
🌿 Step 4: Plant Stratified Acorns in Spring
When roots are 1-2 inches long (usually after 120 days), it's time to plant. Fill small pots or seed trays with a mix of 50% potting soil and 50% perlite to ensure good drainage. Plant each acorn about 1 inch deep, with the pointed end facing upward.
Water gently until the soil feels moist but not soggy, then place the pots in a warm, sunny spot. Keep the soil consistently moist—never let it dry out completely. You'll see the first true leaves emerge within 2-4 weeks, signaling successful germination. Here's the thing—oak seedlings grow slowly, so be patient.
☀️ Step 5: Transplant Seedlings to Outdoor Nursery Beds
Once seedlings have 3-4 sets of leaves (usually in late spring or early summer), they're ready for their first outdoor move. Choose a partially shaded spot in the garden with well-draining soil. Dig holes just slightly larger than the root ball and plant them 2-3 inches deep.
Water deeply after planting to help roots establish, then mulch around the base with 2-3 inches of organic mulch to retain moisture and suppress weeds. Oak seedlings are tough but need protection from strong winds and direct sun until they're a few inches tall. You'll know they're thriving when new growth appears within 4-6 weeks.
Tips & tricks for perfect cold-stratified acorns
Common pitfalls—and how to sidestep every one—when transforming acorns into mighty oak trees.
Selection Tip: Don't overlook the condition of acorn caps. A slightly cracked cap isn't a dealbreaker, but acorns with large holes or missing caps often have lower germination rates. I always do a quick float test in water: healthy acorns sink, while hollow or damaged ones float. This simple check saves hours of wasted effort later.
Stratification Secret: The 90-120 day cold period is non-negotiable, but how you arrange your acorns matters. Place them with the pointed end up—they'll naturally orient themselves this way when you bury them in the moist mix. This positioning helps roots emerge more easily during germination. Confession: I skipped this step for years and wondered why so many acorns sprouted sideways!
Moisture Management: That "damp sponge" consistency in Step 2 is critical. If your mix feels too wet, roots will suffocate; too dry, and germination fails. I use a spray bottle to mist the mix every 2-3 weeks instead of soaking—this prevents mold while maintaining perfect moisture. The key is to keep it consistently damp, not dripping.
Transplant Timing: Wait until you see those first true leaves (not just the initial sprouts) before moving seedlings outdoors. Those early leaves are fragile and can't handle direct sun or wind. I always harden off seedlings by placing them in a sheltered outdoor spot for a few hours each day before full transplantation. This gradual transition prevents shock.
Pro Tips for Seed Of An Oak
- Common pitfalls—and how to sidestep every one—when transforming acorns into mighty oak trees.
- Selection Tip: Don't overlook the condition of acorn caps. A slightly cracked cap isn't a dealbreaker, but acorns wit...
- Stratification Secret: The 90-120 day cold period is non-negotiable, but how you arrange your acorns matters. Place t...
Frequently asked questions
Got questions about growing mighty oak trees from acorns? You’re not alone! Here are some of the most common queries—and their answers—to help you turn those humble seeds into towering giants.
What does "cold-stratify" mean, and why is it necessary?
Cold-stratification mimics winter conditions to break acorn dormancy. Without it, the seed won’t sprout—even if planted in ideal soil. Simply refrigerate acorns in damp sand for 60–90 days (or plant them outdoors in fall). Think of it as a natural "wake-up call" for the seed!
How long does it take for an acorn to sprout into a tree?
Patience is key! A cold-stratified acorn may sprout in 4–8 weeks, but full growth to a mature oak takes 20–30 years. Early years focus on root and leaf development—don’t expect a 10-foot tree overnight. Track progress with a journal for fun!
Can I plant acorns directly from my yard, or do I need special ones?
Yes! Wild acorns work, but choose plump, intact ones from healthy oaks (avoid weevil-damaged or shriveled seeds). For faster results, opt for nursery-grown acorns labeled "dormant" or "stratified." Pro tip: Collect from white oak varieties—they’re hardier!
What’s the best soil mix for acorn seedlings?
Seedlings thrive in well-draining, slightly acidic soil (pH 5.0–6.5). Mix equal parts:
- Potting soil
- Perlite or sand
- Compost
Why did my acorn sprout but then die?
Common culprits:
- Overwatering (roots need air!)
- Too much shade (young oaks love 6+ hours of sun)
- Pests like slugs or rodents
Can I grow an oak tree indoors first?
Yes, but it’s tricky! Start acorns in a warm, humid indoor setup (like a propagator) until they sprout. Once leaves appear, transplant outdoors after the last frost. Indoor growth slows without sunlight—supplement with a grow light if needed.
Wrapping up and next steps
The journey from a tiny seed of an oak to a towering tree is a testament to patience, care, and nature’s quiet magic. 🌱 Whether you’re a gardener or simply inspired by the resilience of oak trees, remember: every great tree starts with a single seed—and every small step you take today plants the future.
Ready to nurture your own legacy? Gather your supplies, start cold-stratifying, and watch your garden grow into something extraordinary!